In the Philippines, you know Christmas is coming when bibingka starts showing up everywhere. Here, there’s no vendor down the street, and the craving doesn’t wait for December. So this bibingka recipe is how I get my fix at home.
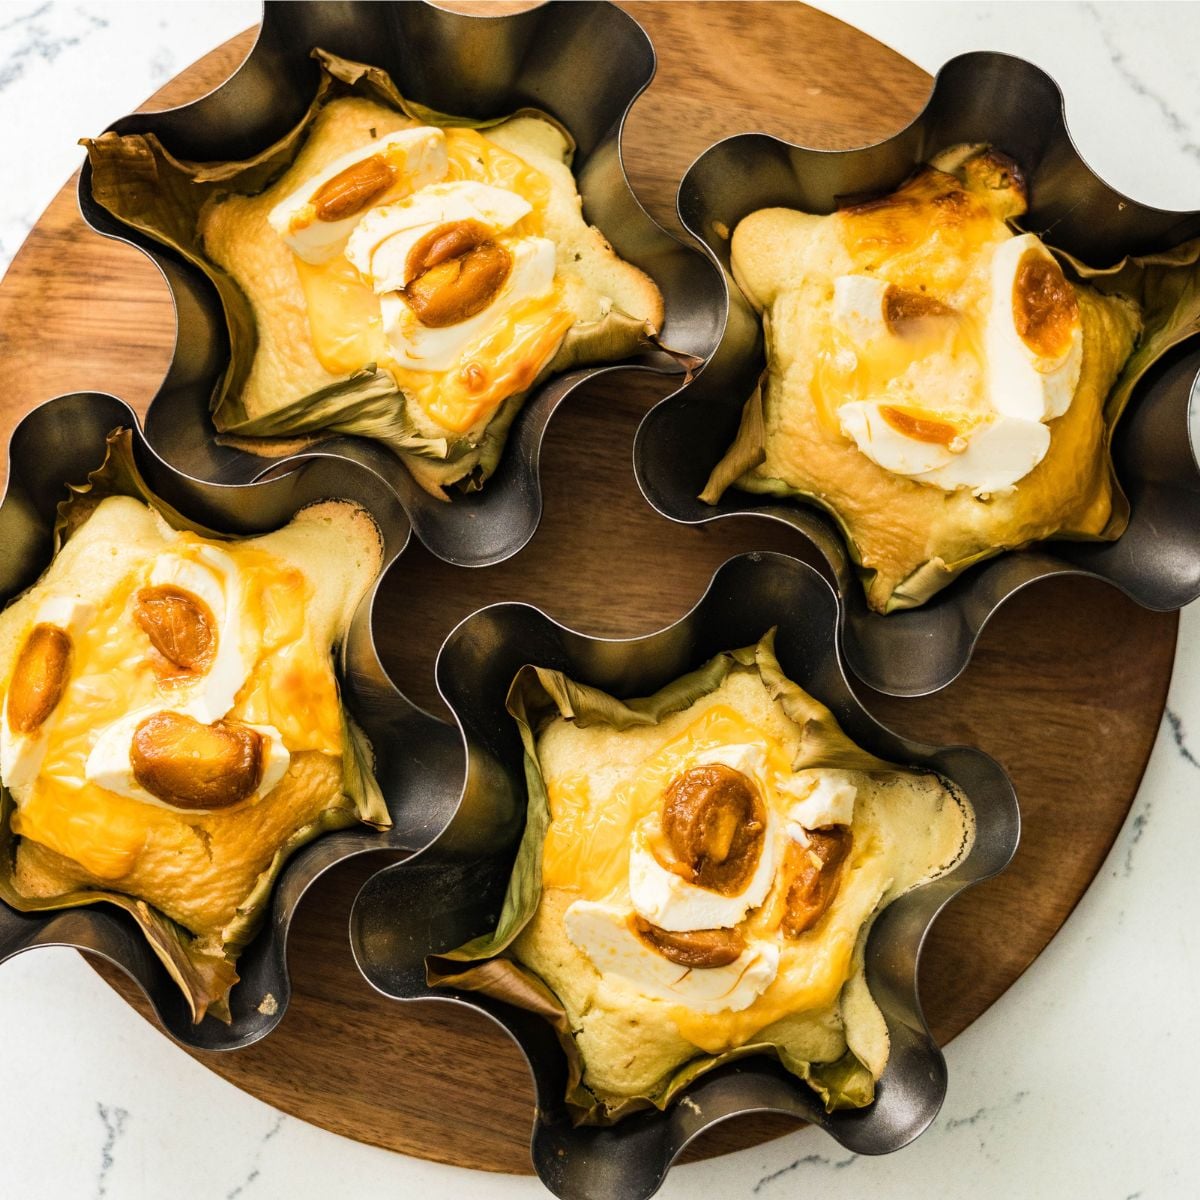
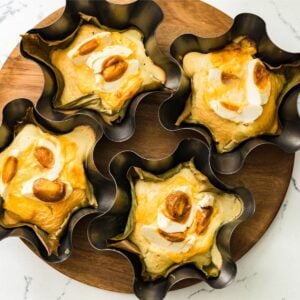
It’s soft, coconutty, and baked in banana leaves with salted egg and cheese on top. If you’ve tried my royal bibingka, this is the traditional version: regular rice flour instead of glutinous, so it bakes up soft instead of chewy. The batter is all pantry staples: rice flour, a little all-purpose flour, coconut milk, eggs, sugar, and oil.
The banana leaves are covered too. My neighbor has banana trees and lets me grab leaves whenever I need them. No banana-tree hookup? 😂 I’ll show you where to find them below.
Save This Recipe 💌
Jump to:
Why You’ll Love This Bibingka
- Pantry ingredients. Rice flour, all-purpose flour, coconut milk, eggs, sugar, and oil. Outside of banana leaves and salted eggs, there’s nothing to hunt down.
- No glutinous rice flour. Regular rice flour with a little all-purpose flour bakes up soft and cake-like, not chewy, so you don’t need a second specialty flour.
- Oil in the batter, butter on top. No softening or creaming butter. Just whisk and pour, then save the salted butter for the finish, where you actually taste it.
- Salty and sweet in every bite. The combination of salted egg and cheese on top of a sweet coconut cake is what makes bibingka so good. It’s the same sweet and salty idea behind yema cake.
- No special mold required. A bibingka or ensaymada mold is ideal, but I used taco salad bowl molds and they worked fine.
- 25 minutes in the oven. Ten minutes hot, toppings on, then 15 more.
What Is Bibingka?
Bibingka is a Filipino rice cake made from rice flour, coconut milk, eggs, and sugar, baked in banana leaf-lined molds and topped with salted egg and cheese. It’s soft and lightly sweet, with a salty finish from the toppings.
Traditionally, it’s made with galapong (soaked, ground rice) and cooked in a clay pot with hot coals both underneath and on top. That double heat is what gives street bibingka its charred edges. At home, the oven does the job.
In the Philippines, it’s most closely tied to Christmas, sold outside churches during Simbang Gabi, the series of dawn masses leading up to Christmas Day.
Don’t confuse it with bibingka malagkit or biko. Both are made with whole glutinous rice and coconut caramel, so they’re dense and sticky rather than cake-like.
Ingredients You’ll Need
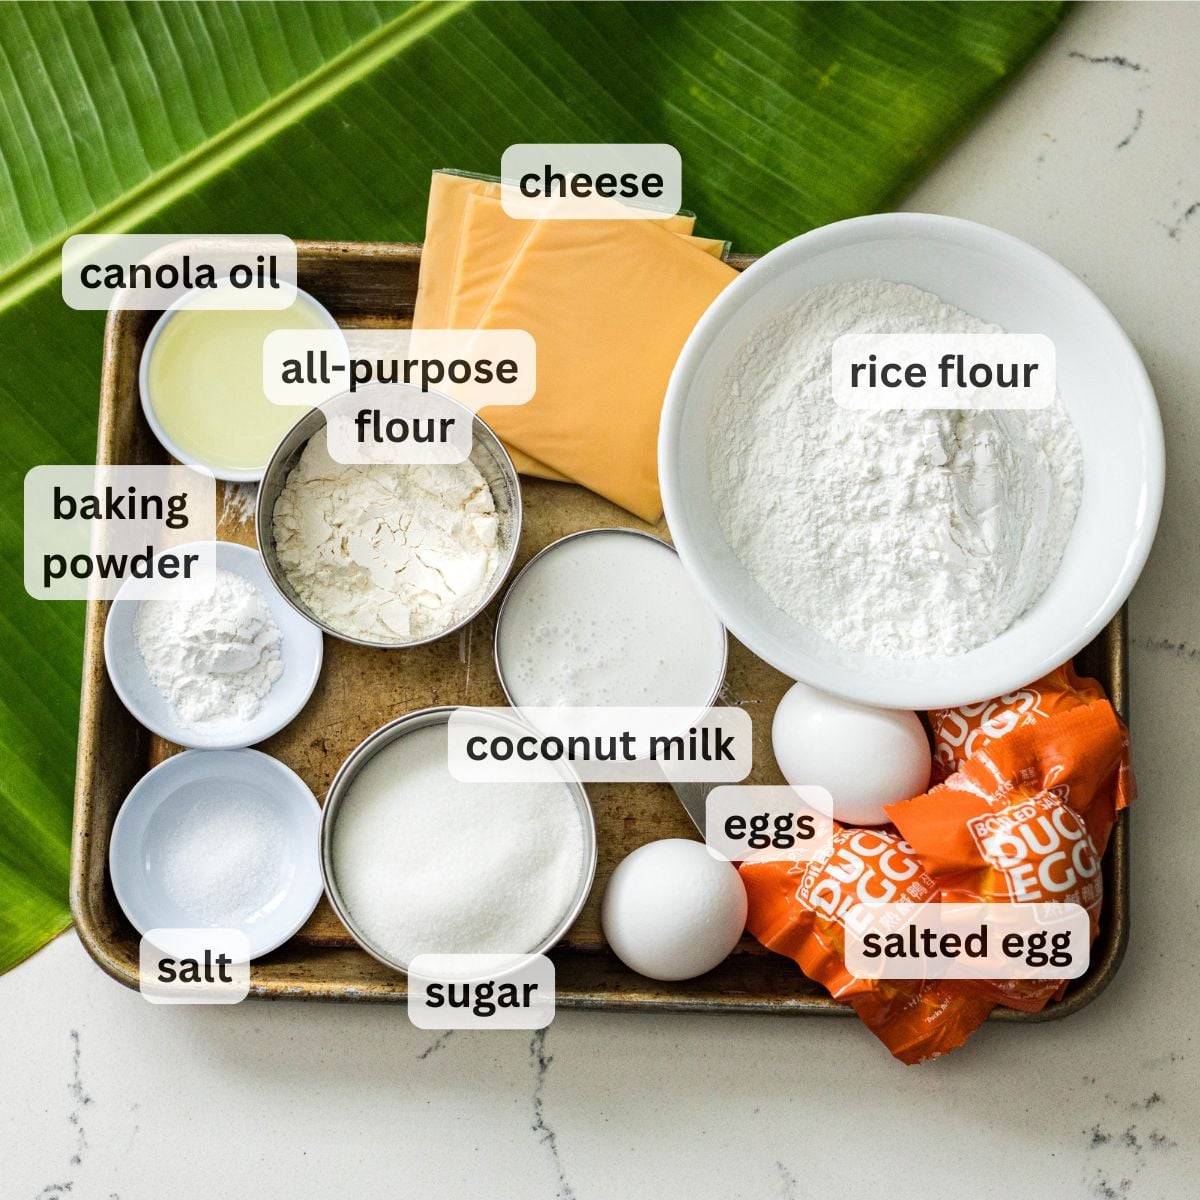
- Rice flour: The cake's base. Make sure it’s regular rice flour, not glutinous (sweet) rice flour. Glutinous flour turns bibingka chewy and sticky instead of soft. I used Three Ladies brand. Whatever you buy, read the bag carefully, since many brands sell both kinds in similar packaging.
- All-purpose flour: Just a little, mixed in with the rice flour. It gives the cake more structure so it holds together when you slice it.
- Sugar: Sweetens the batter and helps the top brown in the oven.
- Full-fat coconut milk: This is where the coconut flavor comes from, and full-fat gives the richest result. Light coconut milk works too if that’s what you have; the cake will just taste a little less rich.
- Water: Loosens the batter alongside the coconut milk, so it pours easily into the molds.
- Baking powder: The only leavening. It’s what makes bibingka rise and stay soft instead of baking up dense. Check that yours isn’t expired, since old baking powder loses its lift.
- Salt: A small amount balances the sugar and sharpens the coconut flavor.
- Neutral oil: I use canola, but any neutral oil works. Oil keeps the cake moist and mixes straight into the batter, with no melting or creaming.
- Eggs: Add richness and help the batter set. Use them at room temperature so they blend smoothly with the oil and coconut milk.
- Cheese: I used regular sandwich slices, and they’re fine. Queso de bola or shredded processed cheese is better if you can get it, since both bring more of that salty, sharp contrast against the sweet cake.
- Salted eggs: I got mine at Costco, though availability varies by location. Filipino and Asian grocery stores also carry them in the refrigerated section. They’re usually sold already cooked. To prep them, I cut each egg in half with the shell on, scoop it out with a spoon, then slice each half in two. Go thicker or thinner depending on how much salted egg you want in each bite.
- Banana leaves: Most Asian and Latin markets carry them frozen. Thaw them in the fridge, then wipe them clean before cutting them to fit your molds. Thawed leaves are already soft and pliable, so they’re ready to use. If you’re using fresh leaves like I did, wash and dry them first, then pass them lightly over a stovetop flame for a few seconds. The heat softens them so they bend into the molds without tearing. Leftover leaves keep in the freezer, and they’re what you need to wrap suman malagkit.
- Salted butter: Brushed on right out of the oven. It soaks into the warm top and adds the buttery finish bibingka is known for.
- Sugar for topping: A light sprinkle over the butter for extra sweetness on top.
- Grated coconut (optional): A classic topping. I was out this time and skipped it, but add it if you have it.
Find the exact measurements in the recipe card below.
Why This Recipe Uses Rice Flour, Not Glutinous Rice Flour
Bibingka recipes online are split: some use regular rice flour, some use glutinous rice flour, and some use a mix. They’re not interchangeable, and the choice decides what kind of bibingka you get.
Regular rice flour is made from everyday rice. Its starch sets firm when baked, giving you a soft, tender crumb that slices cleanly, closer to a light cake.
Glutinous rice flour (also called sweet rice flour or mochiko) is made from sticky rice. Its starch turns gummy and stretchy when cooked, which is what gives mochi and palitaw their chew.
I’ve made bibingka with glutinous rice flour before, and it wasn’t for me. It came out heavier and denser, more like a chewy rice cake than the soft bibingka I wanted. That’s why this recipe sticks with regular rice flour.
Why add all-purpose flour? Rice flour has no gluten, so on its own the cake can be fragile and crumbly. A little all-purpose flour gives it enough structure to hold together when you lift it out of the banana leaves and slice it.
How to Make Bibingka
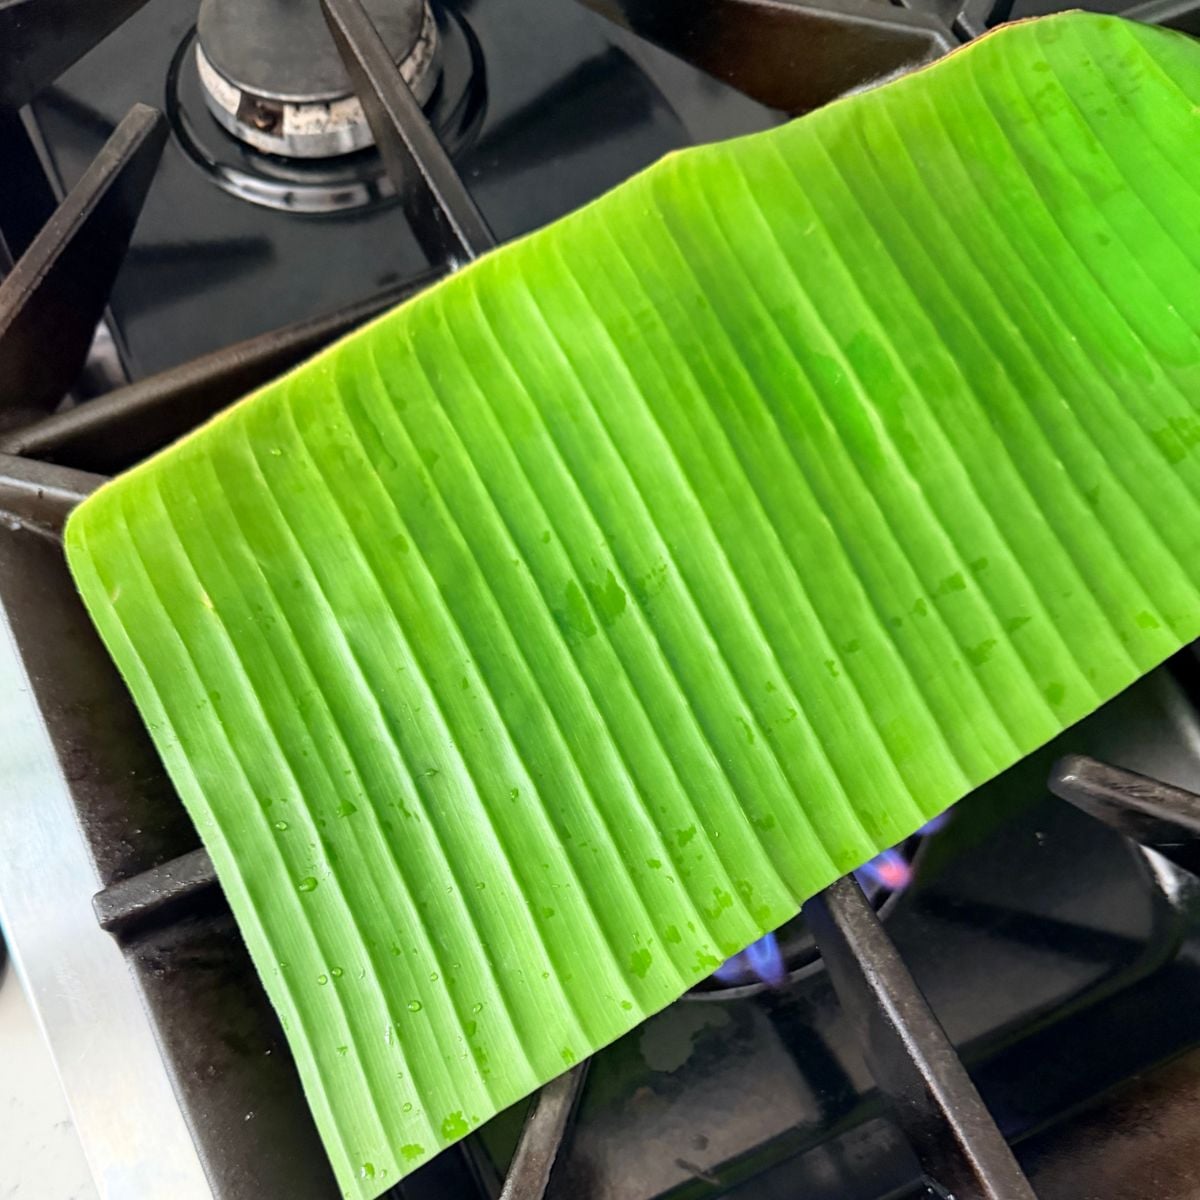
- Prep the banana leaves. Wash and dry fresh leaves, then pass them lightly over a stovetop flame for a few seconds until soft and pliable. If you’re using frozen leaves, just thaw and wipe them clean.
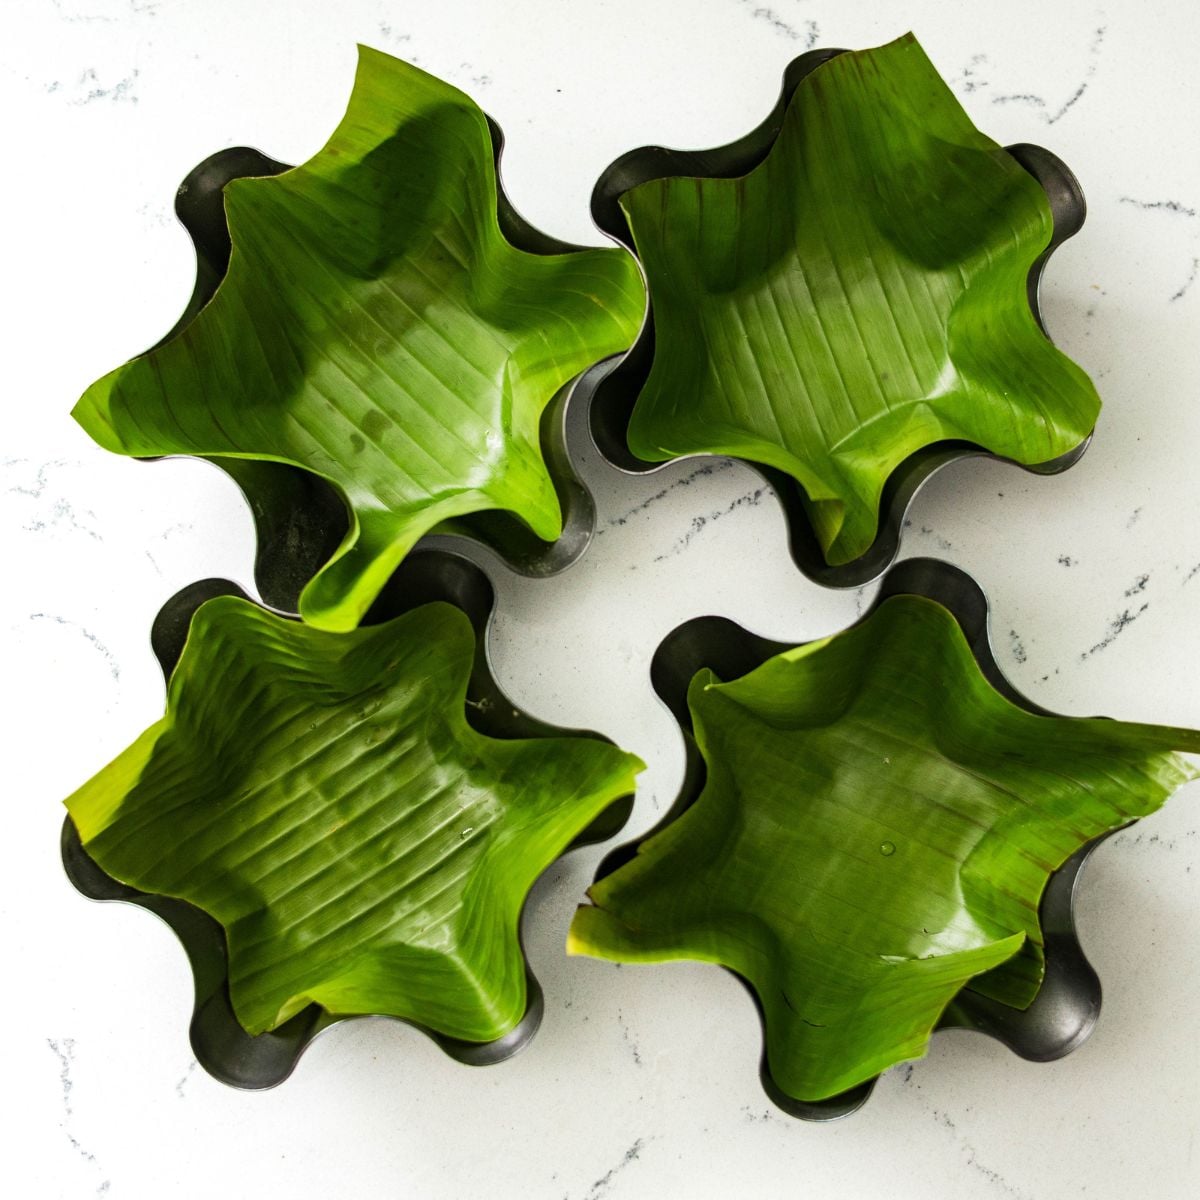
- Line the molds. Press the leaves into your molds so they cover the bottom and sides. No need to grease them.
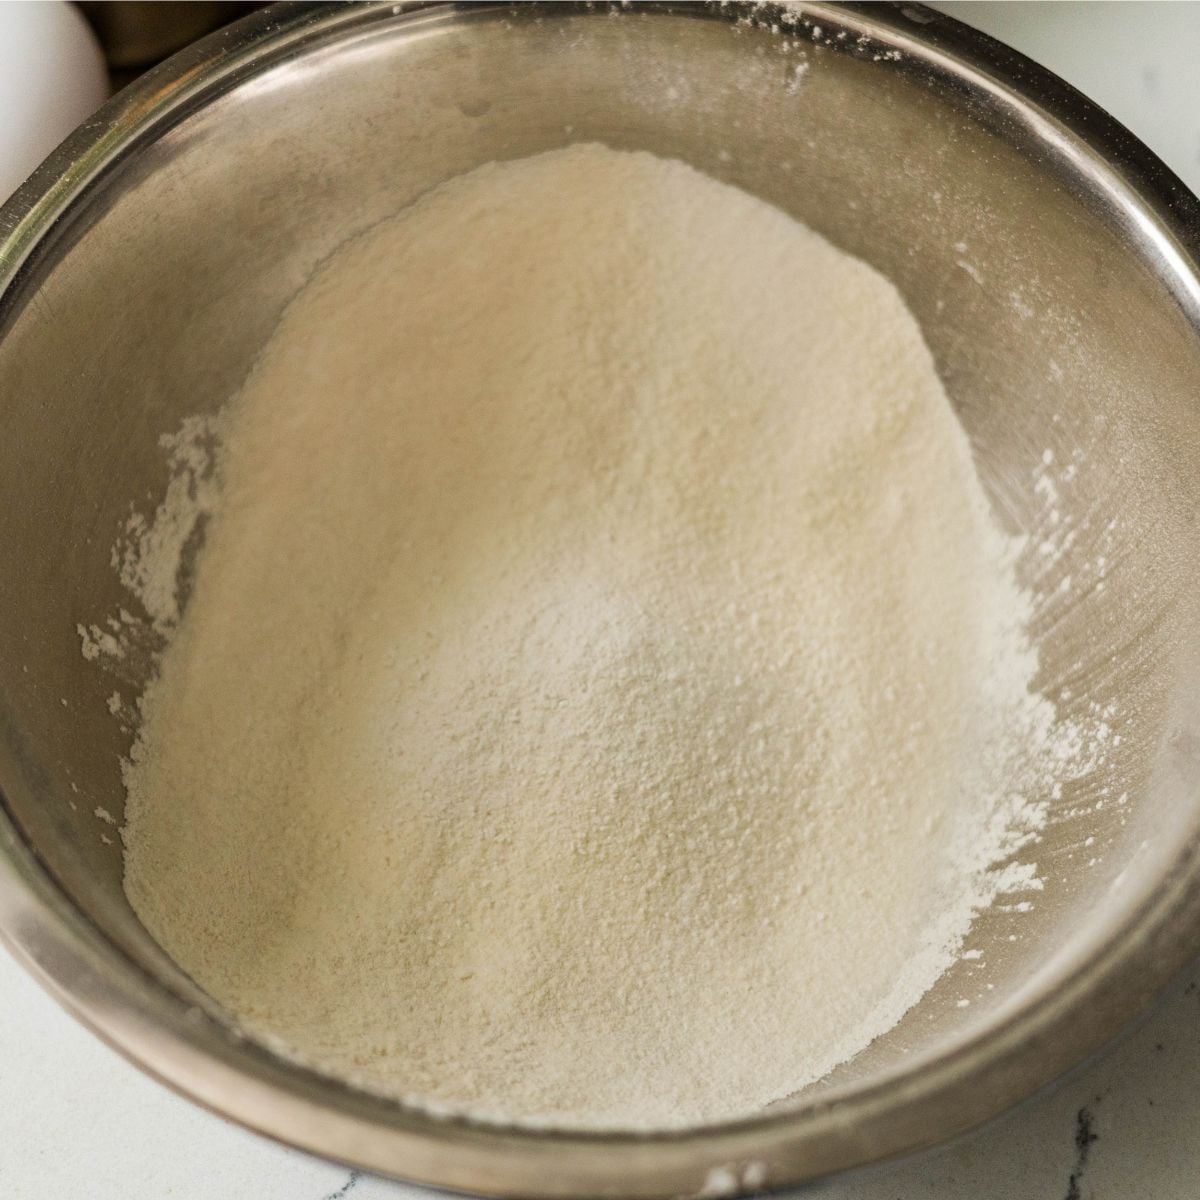
- Mix the dry ingredients. Preheat the oven to 400°F. In a large bowl, whisk together the rice flour, all-purpose flour, sugar, baking powder, and salt.
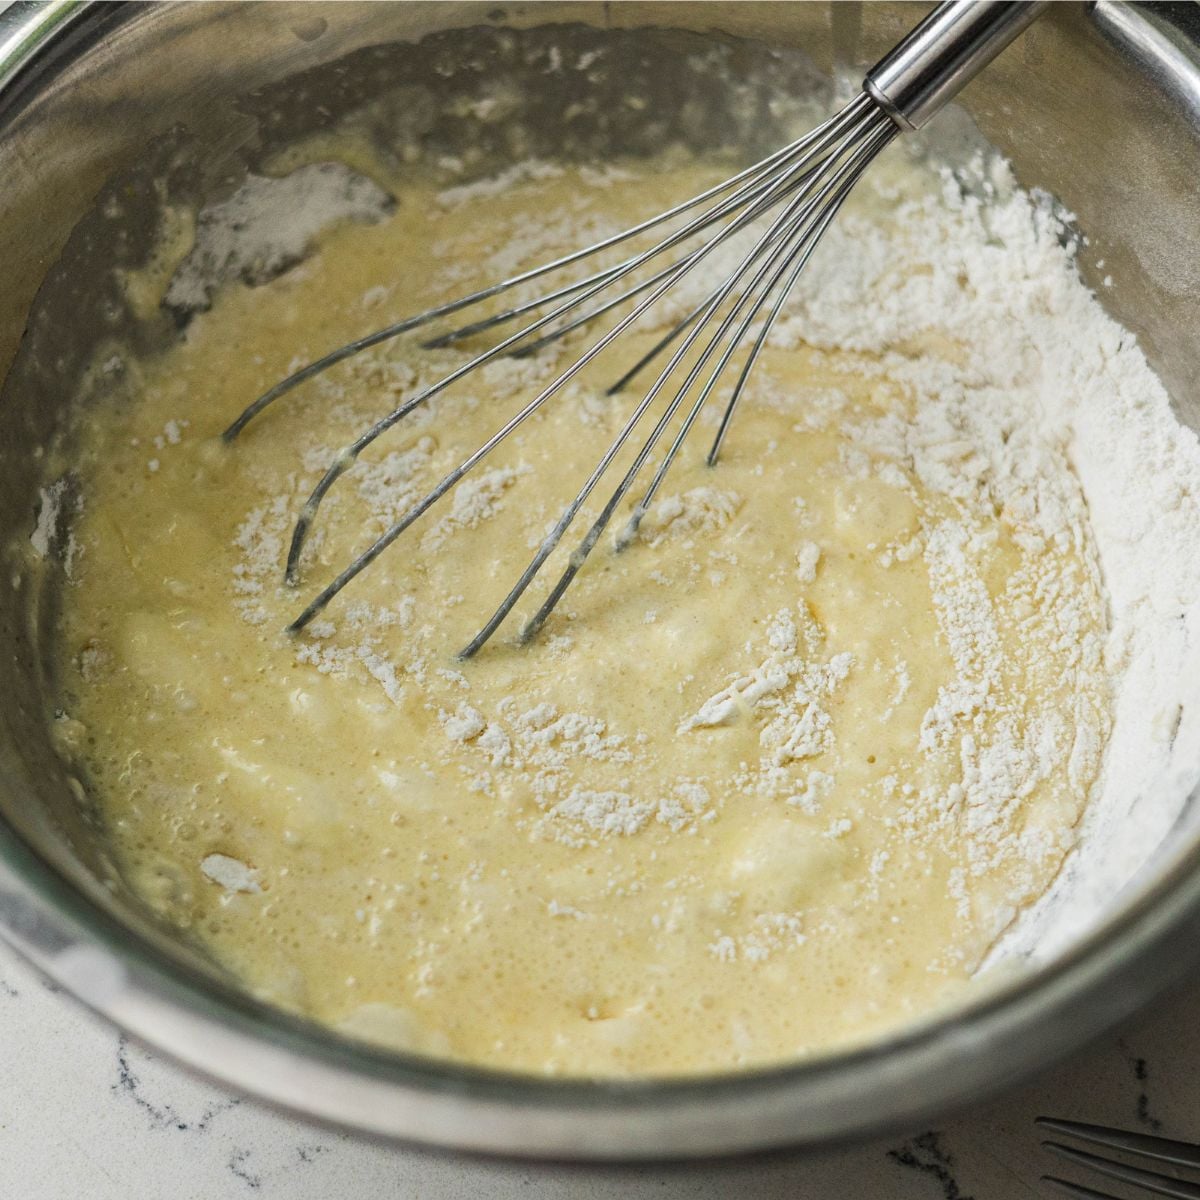
- Mix the wet ingredients and combine. In a separate bowl, whisk together the coconut milk, water, oil, and eggs. Make sure the coconut milk and eggs are at room temperature so everything blends smoothly. Pour the wet ingredients into the dry and whisk until the batter is smooth with no lumps.
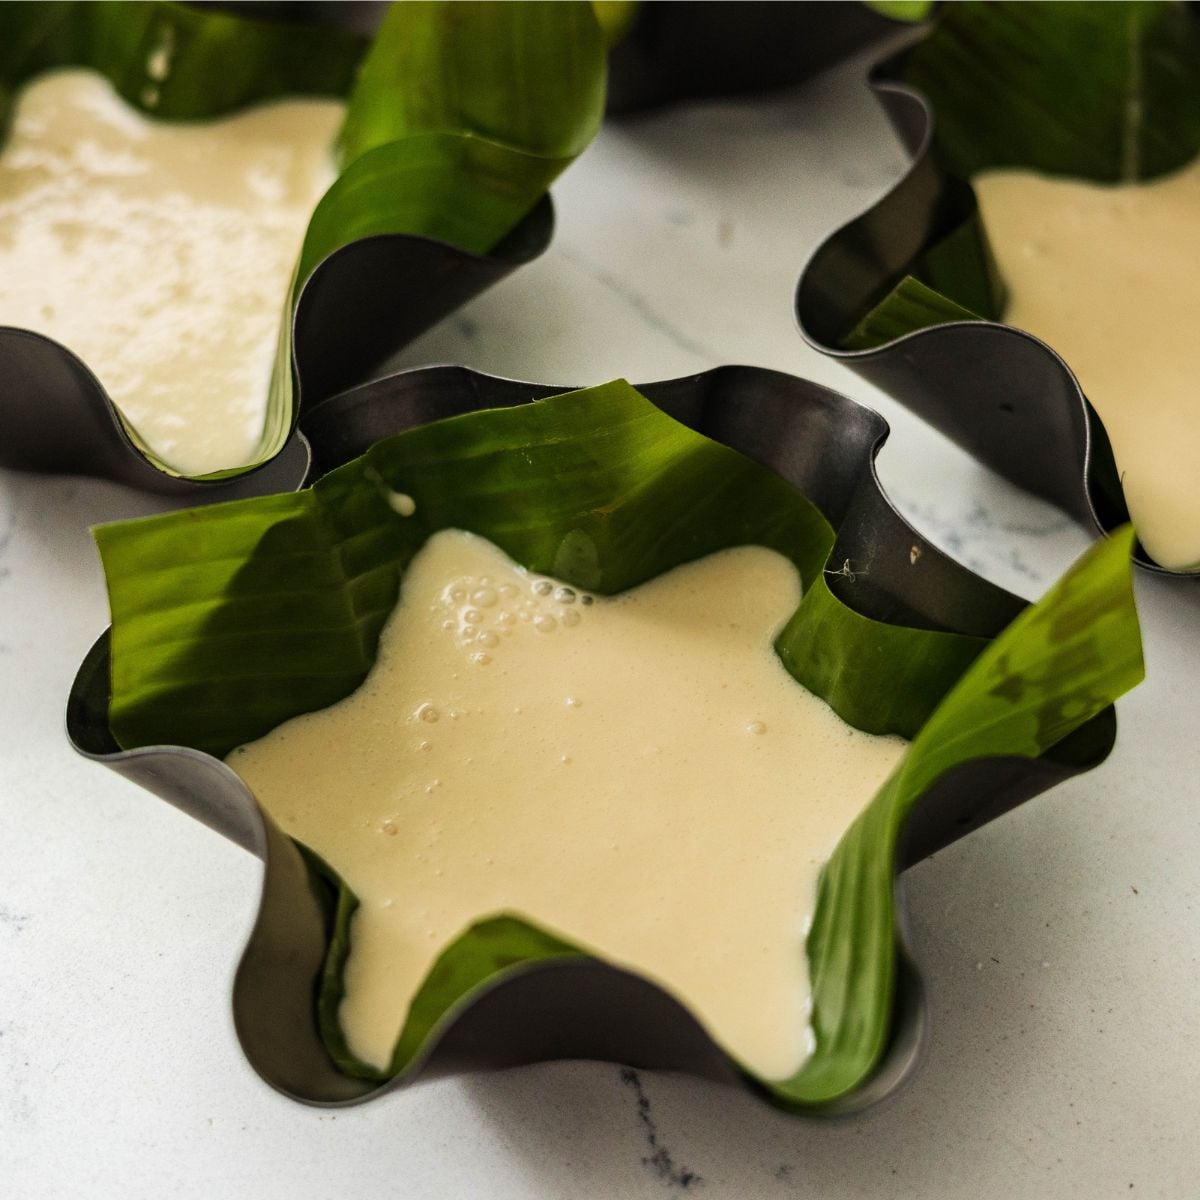
- Fill the molds. Divide the batter evenly among the lined molds. How full depends on your mold size. Mine were about half full, since the batter rises as it bakes. Thick molds can go straight on the oven rack; set thinner ones on a sheet pan.
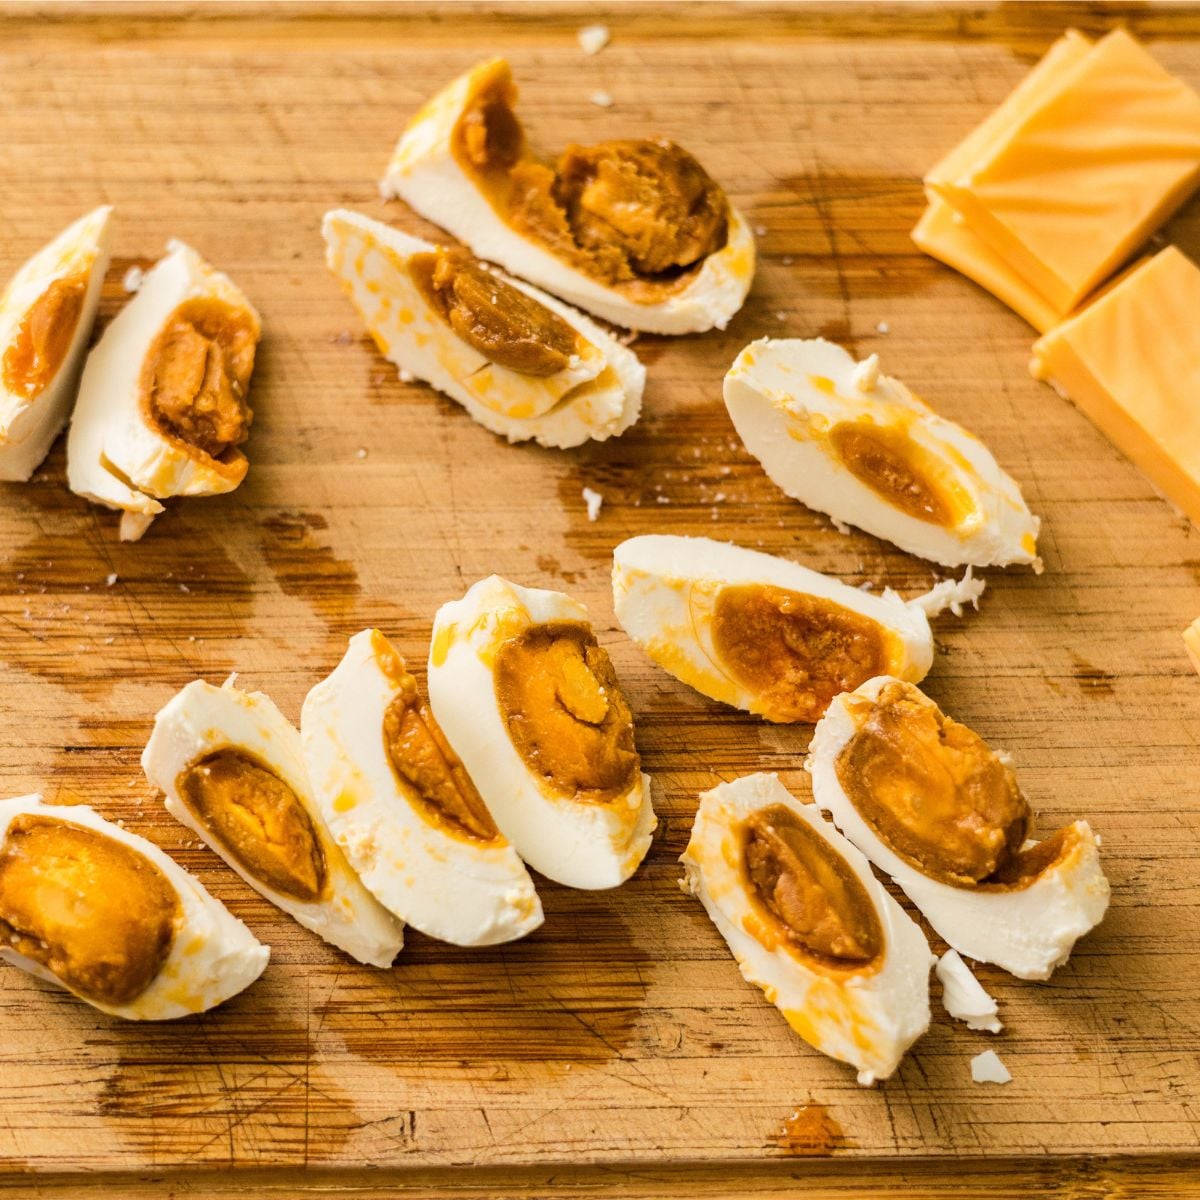
- Bake for 10 minutes at 400°F. This sets the top just enough to hold the toppings. While it bakes, prep the salted eggs: cut each egg in half with the shell on, scoop it out with a spoon, and slice each half in two.
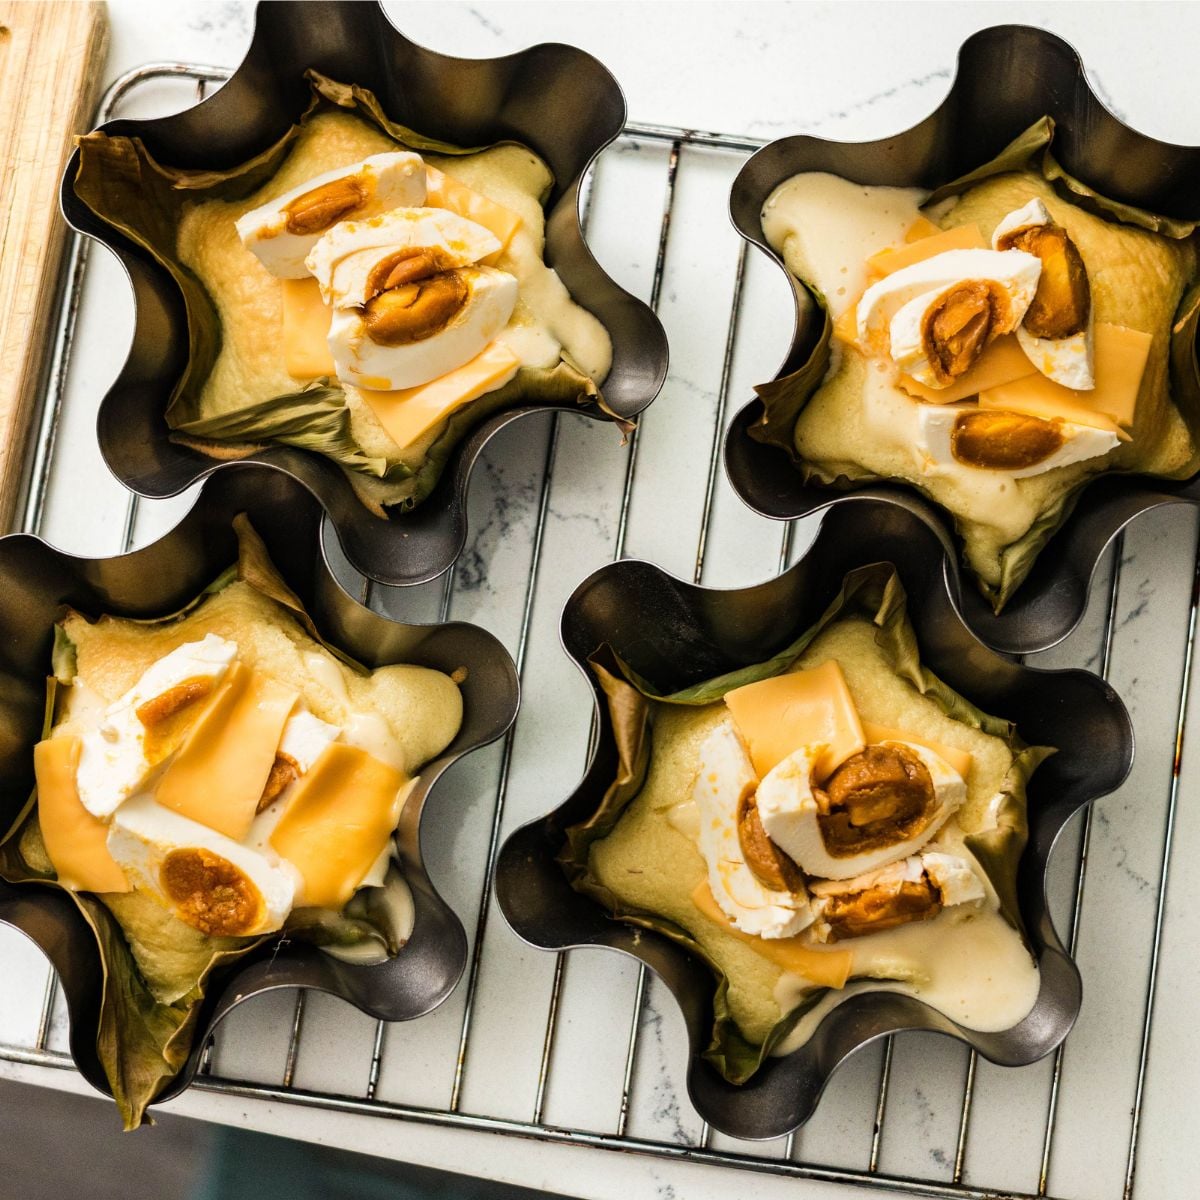
- Add the toppings and finish baking. Pull the bibingka out and arrange the salted egg and cheese on top. I tuck some cheese between the egg slices and some underneath. It all melts, so the placement doesn’t need to be neat. Lower the oven to 375°F and bake 15 more minutes, until a toothpick inserted in the center comes out clean.
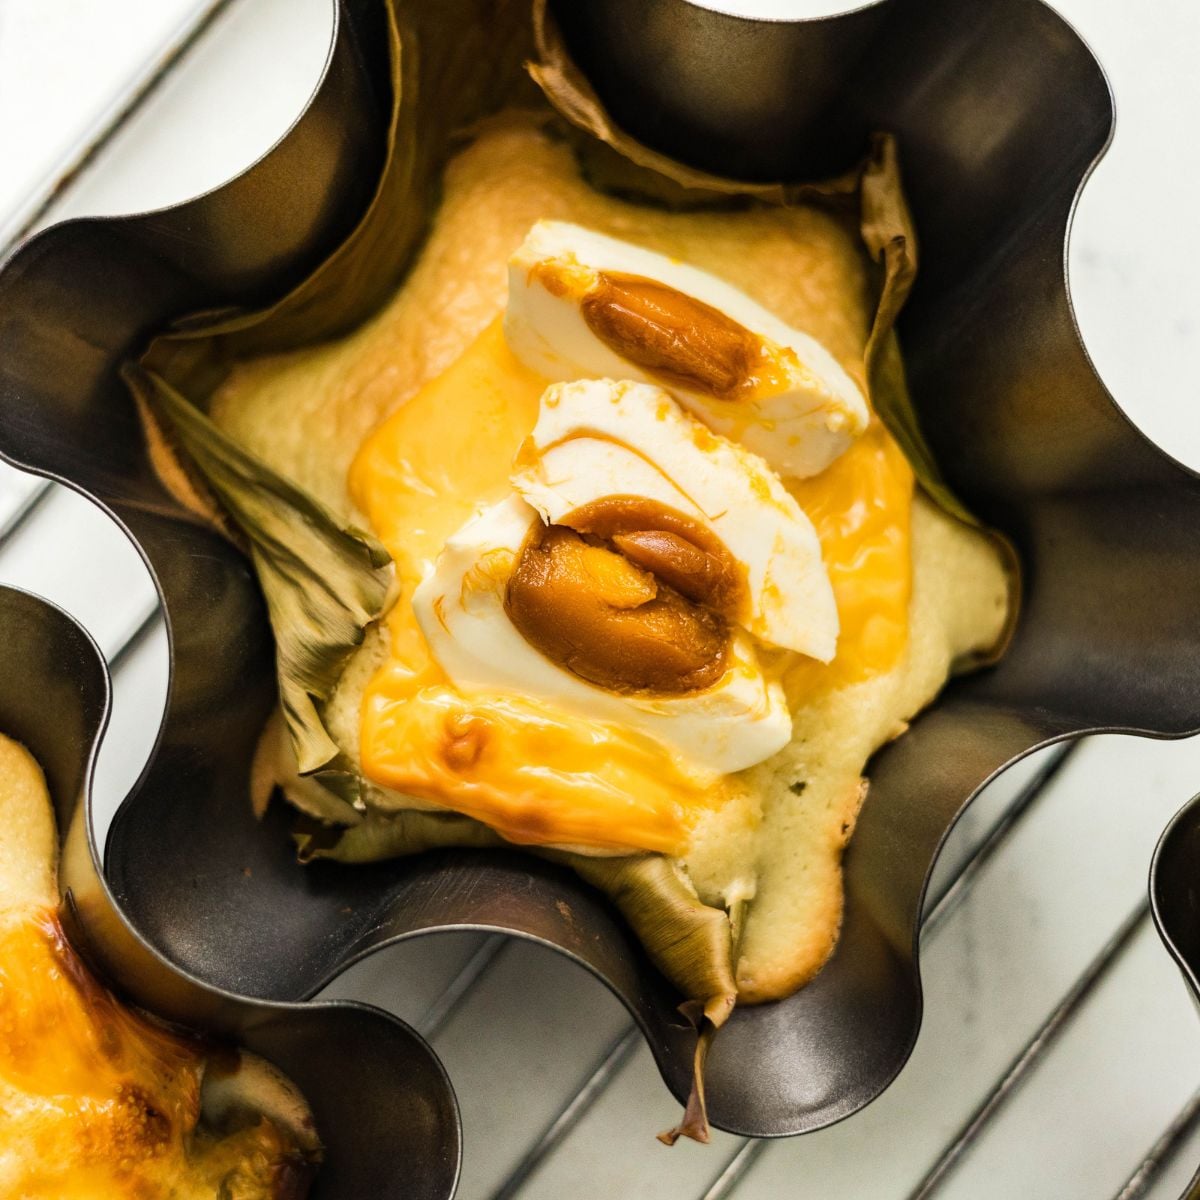
- Finish while warm. Brush the tops with salted butter right away, while the bibingka is still hot enough to soak it in. Sprinkle with sugar, which sticks to the butter, the same finish that goes on ensaymada.
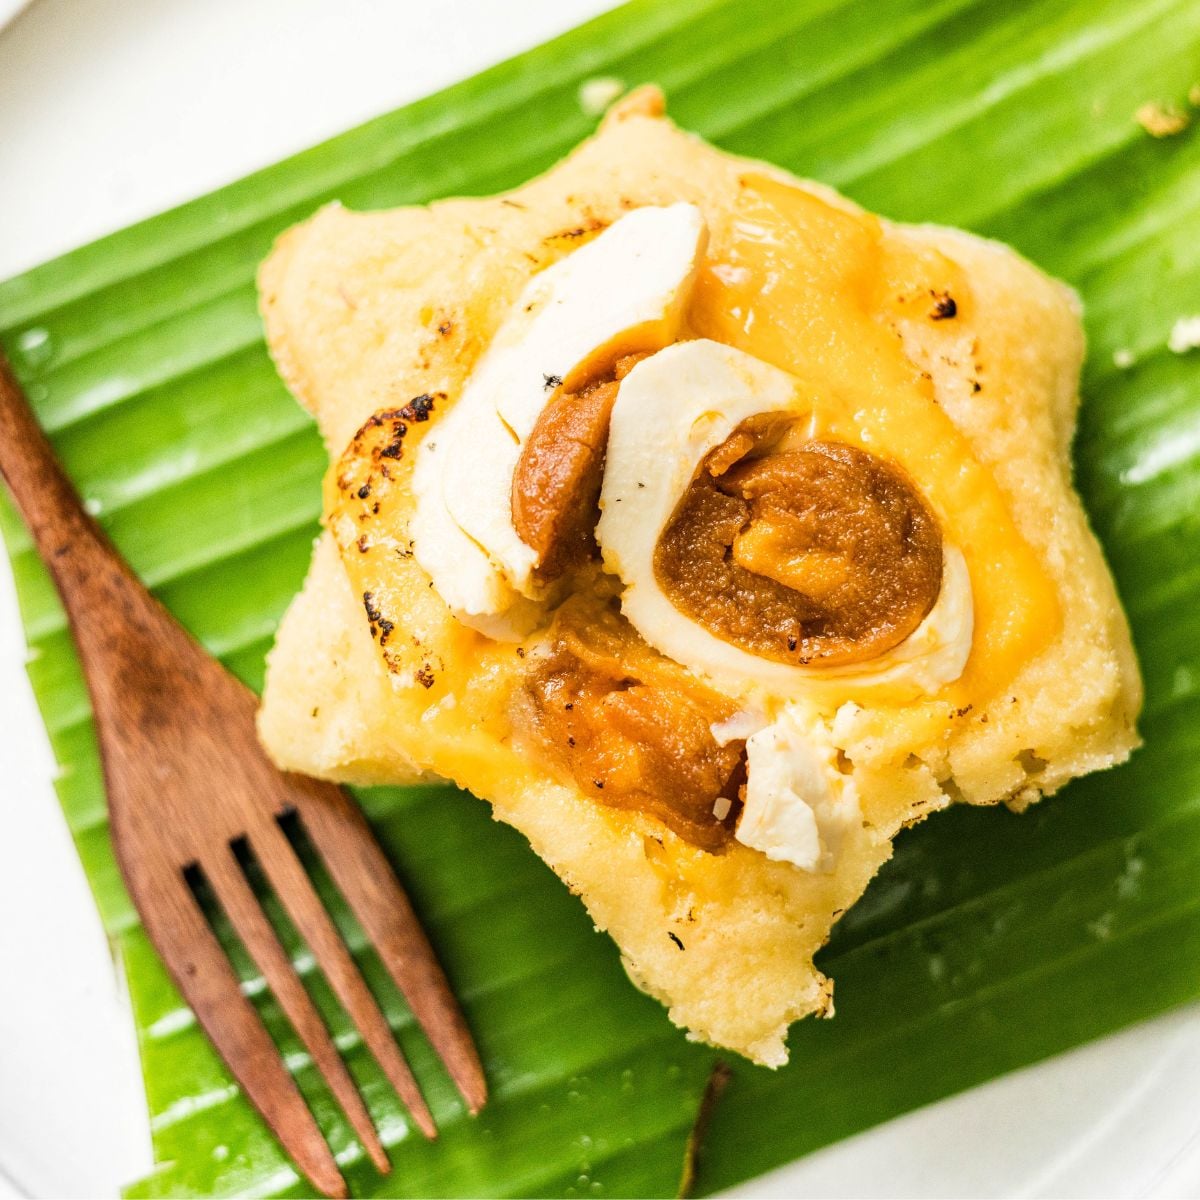
- Cool and unmold. Set the molds on a wire rack to cool, then lift the bibingka out by the banana leaves.
Rose's Tips
- Bring everything to room temperature. Cold coconut milk and eggs don’t blend as smoothly with the oil, and the batter can end up uneven. Set them out ahead of time.
- Don’t add the toppings right away. The first 10 minutes give the batter time to set on top, so it can hold the salted egg and cheese instead of letting them settle into raw batter.
- Start hot, then lower the oven. 400°F gets the bibingka rising and setting quickly. Dropping to 375°F after the toppings go on lets the center finish baking without the top and edges getting too dark.
- Skip greasing the banana leaves. The leaves release the bibingka on their own, so there’s no need to add oil.
- Weigh your flour if you can. My ¼ cup of all-purpose flour came out to 41 grams, but how you scoop can change that a lot. Weighing keeps the batter consistent.
- Upgrade the cheese if you can. Sandwich slices work fine, but queso de bola or shredded processed cheese gives a sharper, saltier contrast against the sweet cake.
- Leave room in the molds. Fill them only about halfway. The batter rises as it bakes, and overfilled molds can spill over.
Variations
- Add grated coconut. Sprinkle it over the butter and sugar at the end. It’s the classic finish, and it adds a little texture on top.
- Switch up the cheese. Queso de bola, shredded processed cheese, or kesong puti all work in place of sandwich slices. Each one changes how salty and sharp the topping tastes.
- Skip the salted egg. If salted egg isn’t your thing, top it with cheese only. You’ll lose some of the salty contrast, but it’s still a soft, sweet coconut rice cake.
Other kinds of bibingka
If you’ve seen bibingka recipes that look nothing like this one, that’s because the name covers more than one dish.
Royal bibingka comes from Vigan in Ilocos Sur and is made with glutinous rice flour, so it bakes up dense, sticky, and chewy, with a golden top. My version uses Jiffy cornbread mix to lighten it a little.
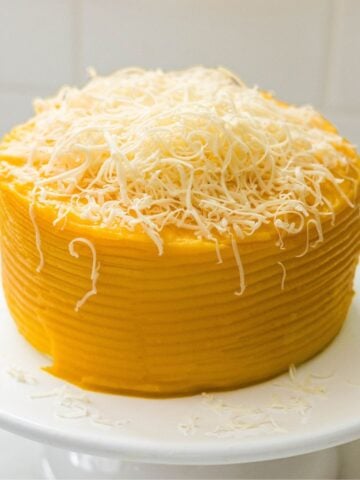
Cassava cake uses grated cassava instead of rice flour, mixed with coconut milk and condensed milk and finished with a custard topping. Some regions call it cassava bibingka. If you like ube, try my ube cassava cake.
Both are their own recipes, not swaps you can make in this one.
Storage and Reheating
Store leftover bibingka in an airtight container in the fridge for up to 3 days. Rice flour firms up when chilled, so expect it to feel denser straight from the fridge.
For the best texture, let it sit at room temperature for a few minutes before reheating.
To reheat: microwave individual pieces for 15 to 30 seconds, until soft and warm again. You can also warm them in a 300°F oven for 8 to 10 minutes, loosely covered with foil so they don’t dry out.
Recipe FAQs
Not this version. It uses a small amount of all-purpose flour for structure, so it contains gluten. Bibingka made with only rice flour is naturally gluten-free, but I haven’t tested this recipe without the all-purpose flour.
Yes. Line the molds with parchment paper instead, and lightly grease them so the batter releases. You’ll lose the subtle aroma the leaves add, but the cake itself will still bake the same way.
Both are Filipino rice cakes, but puto is steamed and bibingka is baked. Steaming keeps puto pale, smooth, and spongy, while baking gives bibingka a golden top and room for toppings like salted egg and cheese.
In the Philippines, it’s most associated with the Christmas season, especially after Simbang Gabi. It’s also a common breakfast or merienda with coffee or hot chocolate any time of year.
Insert a toothpick in the center. If it comes out clean, it’s done. If there’s wet batter on it, give it a few more minutes and check again.
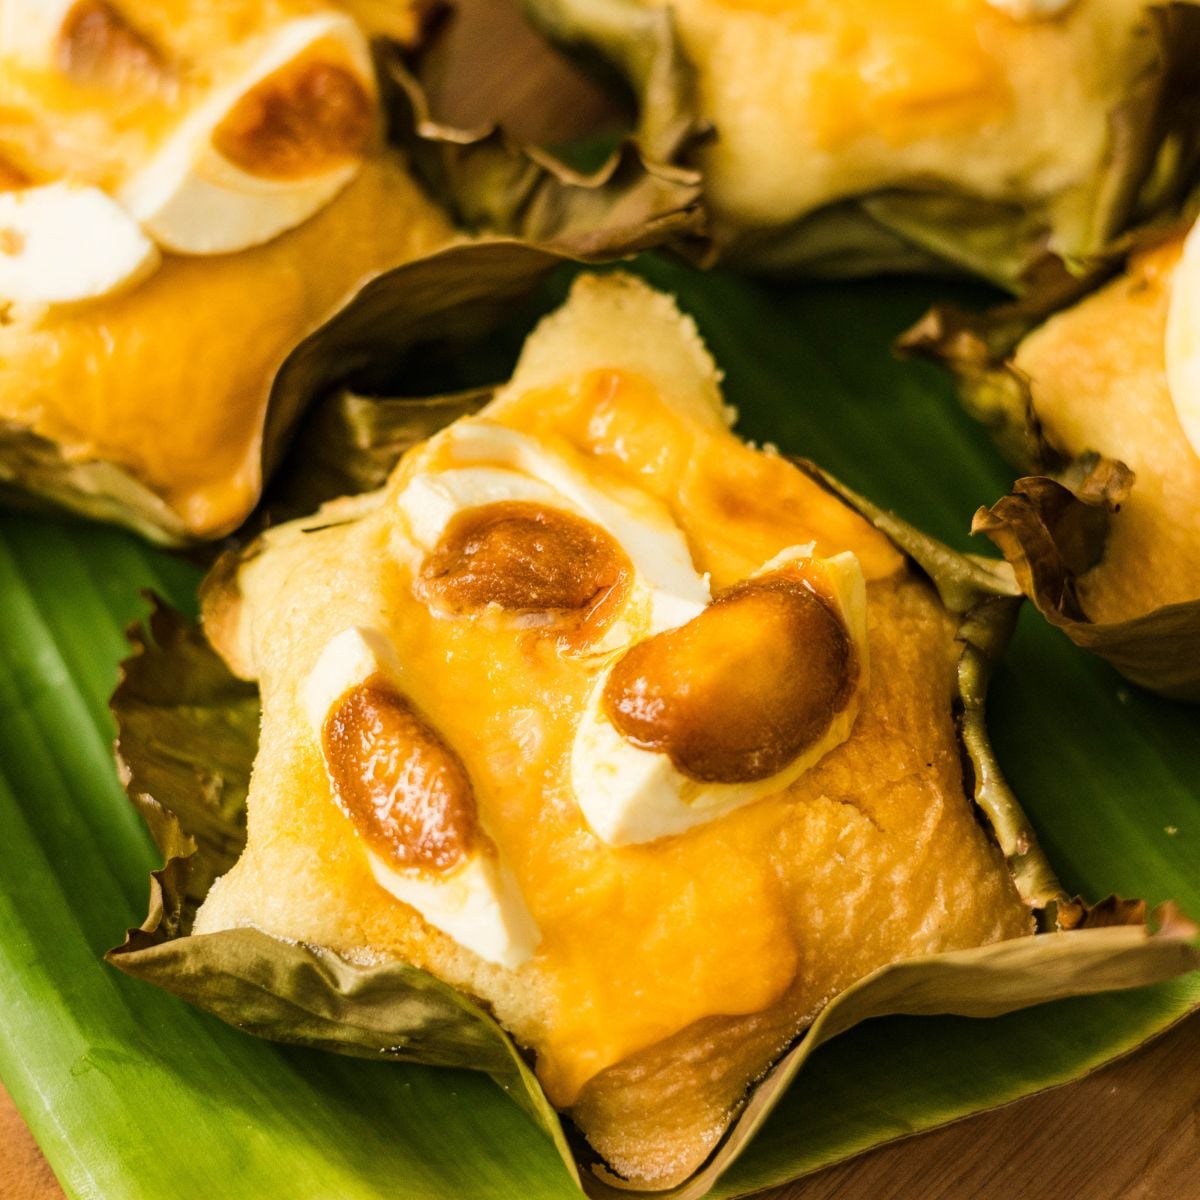
More Filipino Kakanin Recipes
Looking for other recipes like this? Try these:
- Puto: soft steamed rice cakes, the steamed counterpart to baked bibingka.
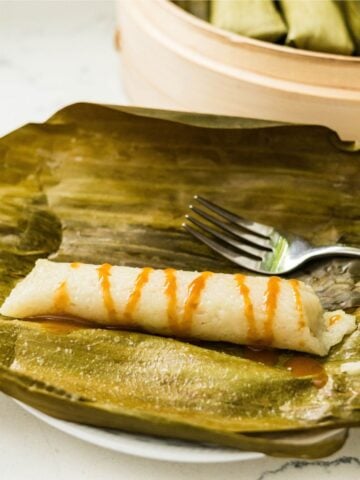
- Suman Malagkit: sticky rice and coconut milk wrapped in banana leaves and steamed.
- Ube Cassava Cake: grated cassava and coconut milk baked with ube.
- Royal Bibingka Cornbread: the chewier, denser Vigan-style bibingka made with glutinous rice flour, lightened with Jiffy cornbread mix.
- Ube Halaya: the four-ingredient ube jam used in a lot of Filipino desserts.

Did you try this recipe?
Share how it turned out in the comment box below, and if you loved it, share it on Facebook, Pinterest & Instagram.
Thank you!

Bibingka Recipe (Filipino Rice Cake)
Equipment
- 4 bibingka or ensaymada molds, or taco salad bowl molds (about 3 inches across the base, 6 inches at the widest)
- 2 mixing bowls
- 1 whisk
- 1 Pastry brush
- 1 Wire rack
- 1 Sheet pan (for thin molds)
Ingredients
For the batter:
- 1 cup rice flour 117g
- 5 tablespoons all-purpose flour 41g
- ½ cup granulated sugar 108g
- 2 teaspoon baking powder
- ¼ teaspoon salt
- ½ cup water at room temperature
- ½ cup coconut milk (full-fat canned)
- 3 tablespoon coconut oil melted
- 2 large eggs at room temperature
For lining the pans:
- Banana leaves fresh or frozen, cut to fit the molds
For the topping:
- 3 salted eggs sliced
- 2 tablespoon melted butter for brushing
- 2 teaspoon granulated sugar for sprinkling
- 2 slices cheese (sandwich slices, queso de bola, or shredded processed cheese)
Optional toppings:
- Grated or shredded coconut for serving
Instructions
- Wash and dry fresh banana leaves, then pass them lightly over a stovetop flame for a few seconds until soft and pliable. If using frozen leaves, thaw and wipe them clean.Banana leaves
- Press the leaves into the molds to cover the bottom and sides. No need to grease them.
- Preheat the oven to 400°F. In a large bowl, whisk together the rice flour, all-purpose flour, sugar, baking powder, and salt.1 cup rice flour, 5 tablespoons all-purpose flour, ½ cup granulated sugar, 2 teaspoon baking powder, ¼ teaspoon salt
- In a separate bowl, whisk together the coconut milk, water, oil, and eggs. Pour the wet ingredients into the dry and whisk until smooth with no lumps.½ cup water, ½ cup coconut milk (full-fat canned), 3 tablespoon coconut oil, 2 large eggs
- Divide the batter evenly among the lined molds, about half full. Place thick molds directly on the oven rack, or set thinner molds on a sheet pan.
- Bake for 10 minutes at 400°F. While it bakes, cut each salted egg in half with the shell on, scoop it out with a spoon, and slice each half in two.3 salted eggs
- Remove the bibingka and arrange the salted egg and cheese on top, tucking some cheese between and under the egg slices. Lower the oven to 375°F and bake 15 more minutes, until a toothpick inserted in the center comes out clean.3 salted eggs, 2 slices cheese
- Brush the tops with salted butter right away and sprinkle with sugar. Add grated coconut if using.2 tablespoon melted butter, 2 teaspoon granulated sugar, Grated or shredded coconut
- Cool on a wire rack for 10 to 15 minutes, then lift the bibingka out by the banana leaves.
Save This Recipe 💌
Notes
- Use regular rice flour. Glutinous (sweet) rice flour makes bibingka heavier and denser. I used Three Ladies brand.
- Weigh the all-purpose flour if you can. My ¼ cup weighed 41g. Scooping vs. spooning can change that a lot.
- Fill level depends on your molds. Mine were about half full. The batter rises as it bakes.
- Cheese: sandwich slices work, but queso de bola or shredded processed cheese gives more salty contrast.
- Storage: refrigerate in an airtight container for up to 3 days. Reheat individual pieces in the microwave for 15 to 30 seconds, or in a 300°F oven for 8 to 10 minutes, loosely covered with foil.