
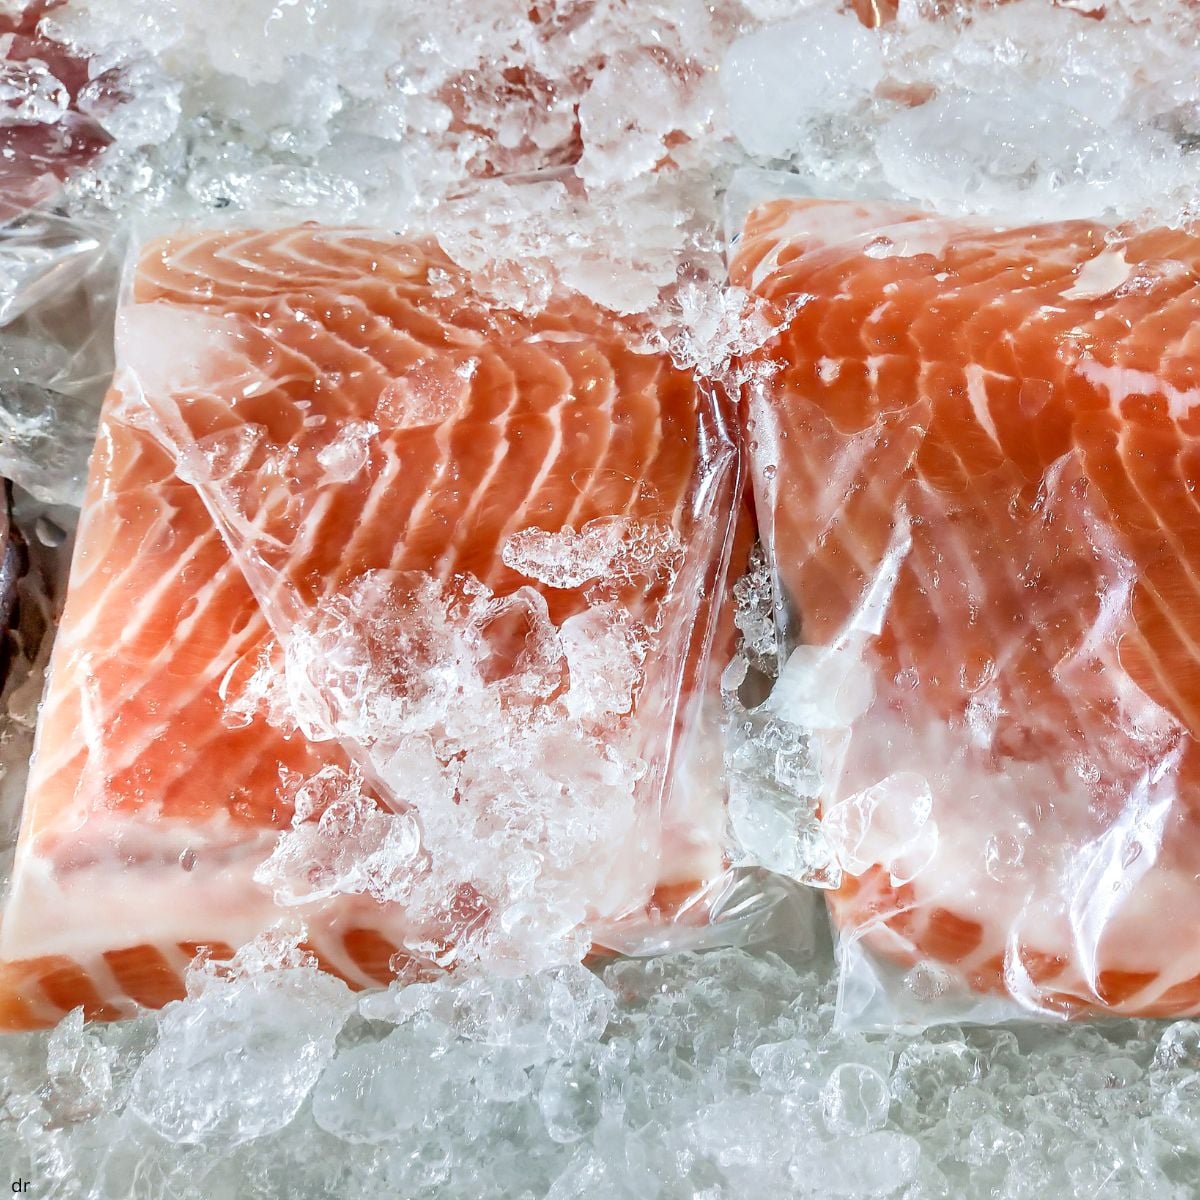
Most of the salmon I cook starts in the freezer. Costco salmon usually comes in a larger pack than I need for one meal, so I freeze the extra fillets and thaw only what I need.
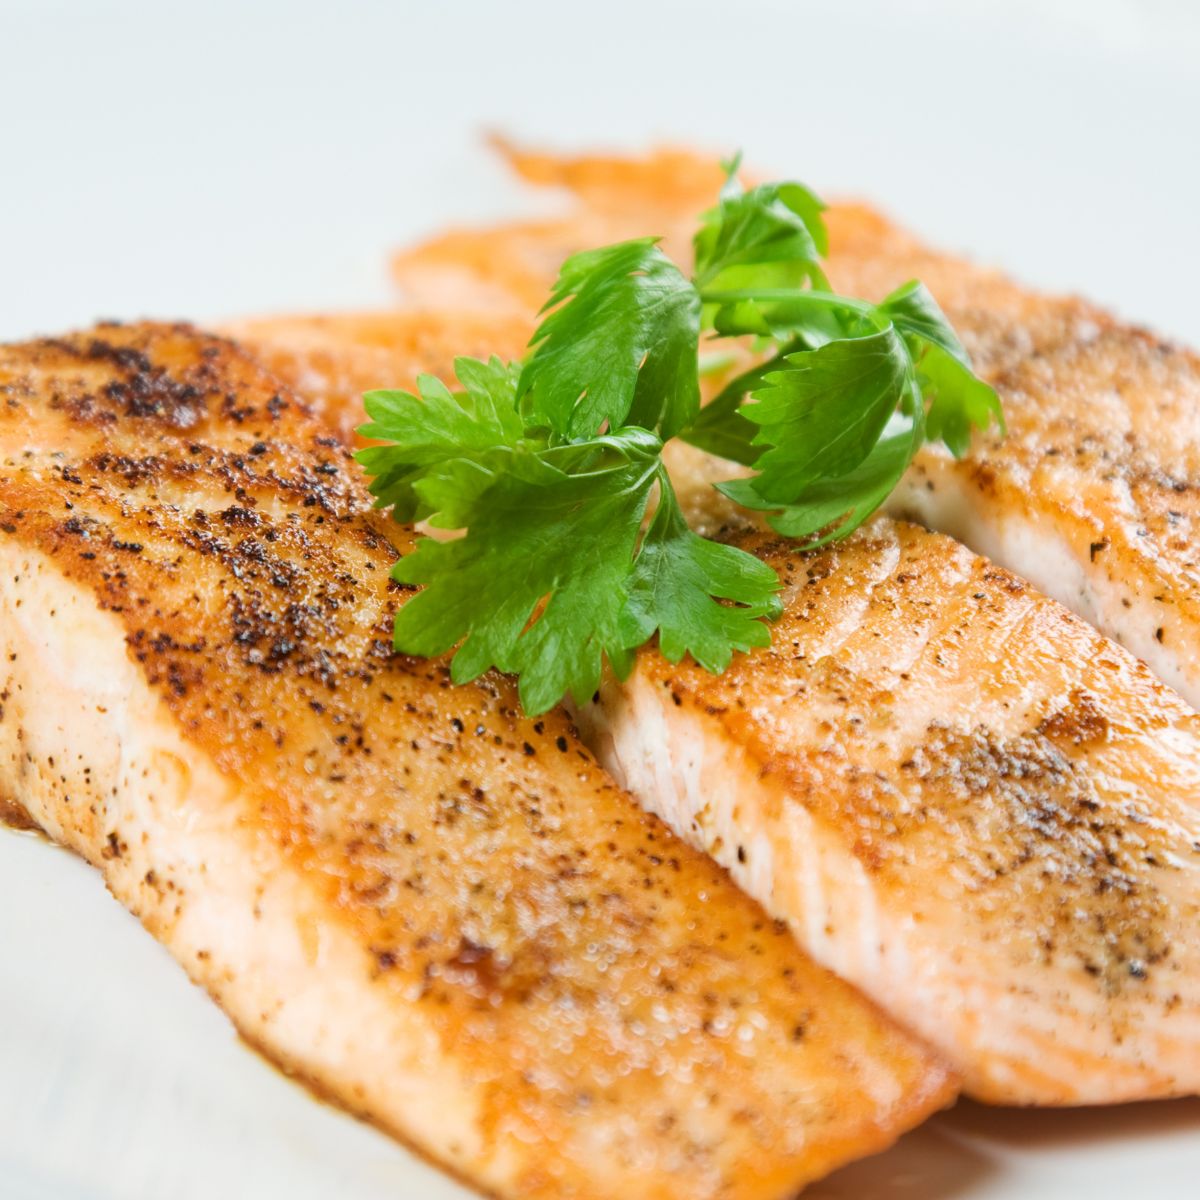
The key with previously frozen salmon is getting the surface really dry. After thawing, I pat the fillets dry, then give them another quick pat right before they go into the pan. Removing that extra moisture helps the salmon get that golden, crisp sear instead of steaming.
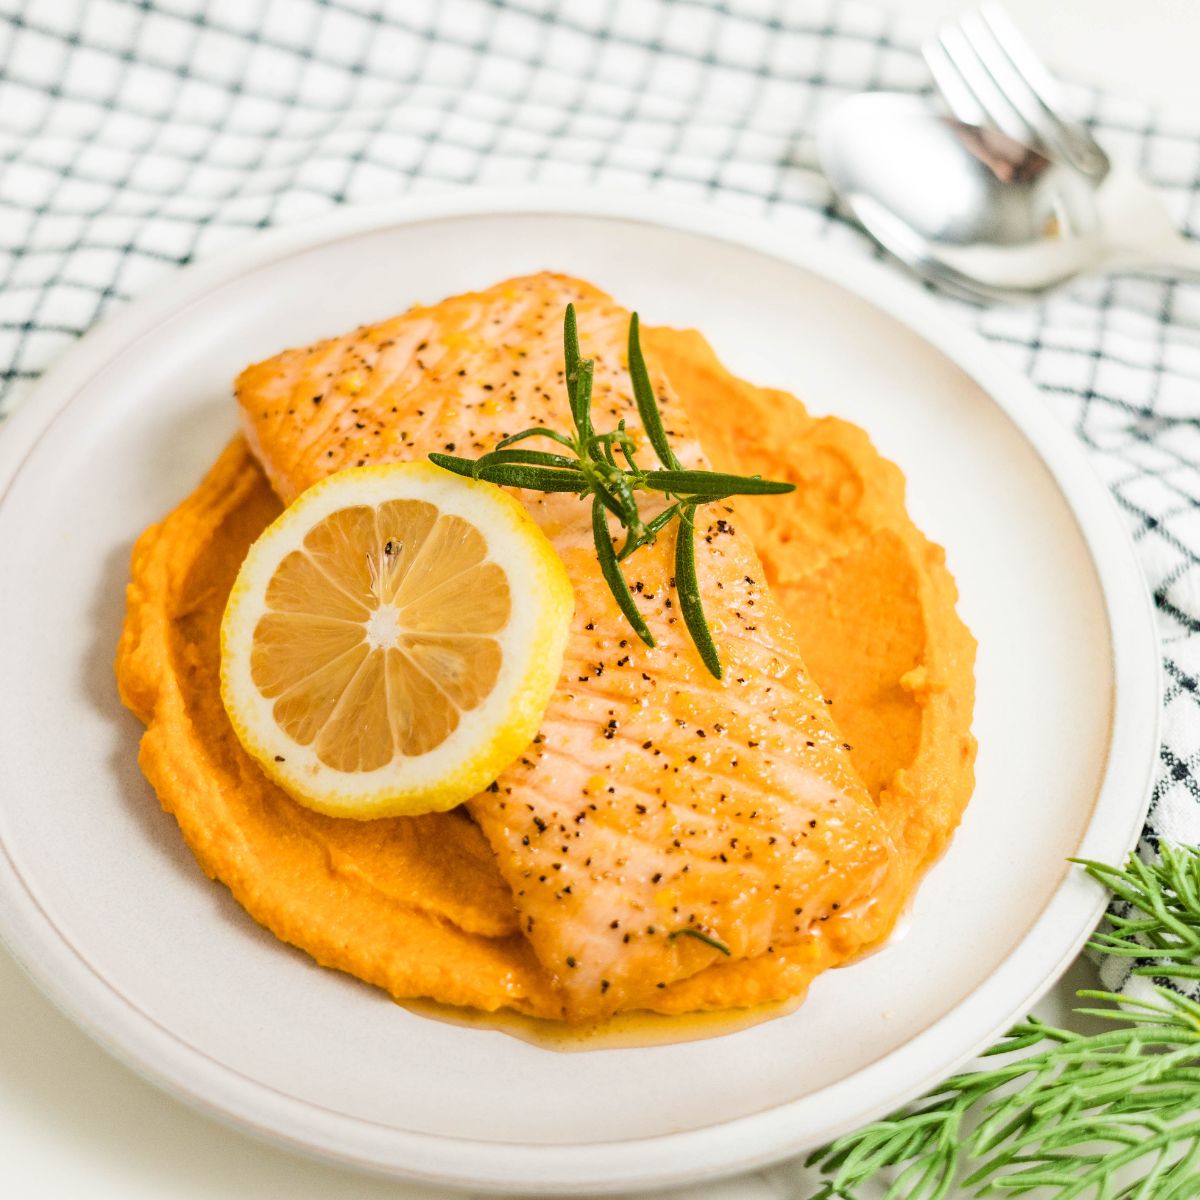
From there, everything happens in one skillet. Sear the salmon without moving it until the edges are crisp, then add butter, garlic, and rosemary. Spoon the garlic rosemary butter over the salmon as it finishes cooking so every bite gets plenty of flavor.
I add the lemon at the very end, after the pan comes off the heat, so it stays bright and fresh.
This Pan Seared Lemon Rosemary Salmon with Garlic Butter takes about 20 minutes, uses just one pan, and requires no oven. If you prefer baking your salmon, try my baked blackened salmon for another easy weeknight option.
Save This Recipe 💌
Jump to:
- Why This Version Works
- How to Use Frozen Salmon
- Ingredients
- How to Make Pan Seared Lemon Rosemary Salmon
- How to Know When Salmon Is Done
- Recipe Tips & Troubleshooting
- Prefer to Bake It?
- Variations and Substitutions
- What to Serve With It
- Storage and Reheating
- Recipe FAQs
- More Easy Seafood Dinners
- Did you try this recipe?
- Pan Seared Lemon Rosemary Salmon with Garlic Butter
Why This Version Works
- 20 minutes, one skillet. The butter sauce builds in the same pan the salmon seared in, so there is nothing to wash but the pan and a spoon.
- No oven. Nothing to preheat, and you can see exactly how the crust is coming along instead of guessing through a door.
- Built for frozen fillets. Most salmon recipes assume fresh. This one assumes you pulled a Costco fillet out of the freezer last night.
- Skin-on or skinless both work. Skin gives you a buffer if you overshoot the timing. Skinless browns on both sides. Neither one changes the method.
How to Use Frozen Salmon
Most of my salmon starts frozen, so this is worth getting right.
The best method is the slowest one. Move the fillets to the fridge the night before and let them thaw for 8 to 12 hours. Slow thawing keeps more moisture inside the fish instead of leaving it on the surface.
If you forgot, seal the fillets in a bag and submerge them in cold water for 20 to 30 minutes. Never use warm water and never leave salmon on the counter to thaw.
Then dry them. Thawed salmon carries more surface water than fresh, and that water has to boil off before browning can start. Pat once when they come out of the bag, then again right before they go in the pan.
A properly thawed fillet feels firm and cool, not soft or mushy. If it feels slack, it thawed too fast.
Ingredients
- Salmon fillets. About 6 oz each, and try to get them close to the same thickness so they finish at the same time. Skin-on or skinless both work. A fillet under an inch thick will cook faster than the timing below, so watch it closely.
- Olive oil. This is what does the searing, not the butter. Butter added at the start will burn well before the salmon is cooked through, so the oil goes in first and the butter comes later.
- Butter. Added at the end, once the heat is down. This is what you spoon over the fish, and it's what carries the garlic and rosemary into the fillet. Skip it and you have a plain seared piece of salmon, which is fine, but it isn't this recipe.
- Garlic. Smash the cloves rather than mincing them. Minced garlic scorches in the time the salmon needs, and burnt garlic turns the whole pan bitter. Smashed cloves hold up and still give you the flavor.
- Fresh rosemary. Whole sprigs release slowly into the warm butter instead of hitting you all at once. Dried works too, about 1 teaspoon dried in place of a tablespoon of fresh, added with the butter so it softens in the fat.
- Lemon. Zest goes in with the butter, juice goes on at the very end off the heat. Juice added to a hot pan cooks down and loses the sharpness that makes the dish work.
- Salt and black pepper. Season both sides right before the salmon goes in the pan, not earlier. Salt sitting on the fillet pulls moisture to the surface, and surface moisture is the thing standing between you and a crust.
- Red pepper flakes. Optional. A pinch on the fillet before searing, not in the butter, so the heat toasts into the fish rather than floating in the sauce.
See recipe card for quantities.
How to Make Pan Seared Lemon Rosemary Salmon

- Season the salmon. Pat the fillets dry, then season both sides with salt and pepper, plus red pepper flakes if you're using them. Do this right before they go in the pan. Any earlier and the salt starts pulling moisture back to the surface.

- Sear. Heat a skillet over medium-high, then add the olive oil. Cast iron or stainless works best here because both hold heat when cold fish hits the surface. If you're deciding between a skillet or sauté pan, either can work for searing, but the shape and sides affect how easy it is to flip and baste the salmon. Place the fillets in the pan, skin side down if they have skin, and press lightly for about 10 seconds so they don't curl.
- Flip and lower the heat. Turn the fillets over and drop the heat to medium. You want the pan hot enough to keep cooking but cool enough that butter won't burn in it.
- Add the butter, garlic, and rosemary, and baste. Add the butter, smashed garlic, rosemary sprigs, and lemon zest. Once the butter melts, tilt the pan slightly so it pools at one edge and spoon it over the fillets for 1 to 2 minutes. This is the step doing the real work. Basting helps the salmon finish cooking gently while coating it with the garlic rosemary butter.
- Finish off the heat. Pull the pan off the burner and squeeze the lemon over the fillets. Let them rest 2 to 3 minutes before serving. Salmon carries on cooking after it leaves the heat, so pull it a few degrees under where you want it.
How to Know When Salmon Is Done
An instant-read thermometer is the only way to stop guessing. Check the thickest part of the fillet.
- 125 to 130°F. Tender and flaky with a slightly glossy center. This is where I pull mine.
- 135 to 140°F. Firmer, still juicy. Good if a glossy center isn't your thing.
Worth knowing: USDA guidance for fish is 145°F. Anything below that is a texture preference rather than a safety recommendation, and it's what most restaurants and cookbooks work to. Cook to whatever you're comfortable with.
No thermometer? Press the top of the fillet with a fork. It should flake apart with light pressure but still look moist in the center. If it flakes with no resistance at all, it's already past where you want it.
Either way, pull the salmon a few degrees early. It keeps cooking off the heat, and the 2 to 3 minute rest in step 5 will carry it the rest of the way.
Recipe Tips & Troubleshooting
- Dry salmon is the whole game. Surface water has to boil off before browning can start, so a wet fillet spends its first minute steaming instead of searing. That's a minute you don't get back. Pat once, then pat again right before it goes in the pan.
- Don't move it. Every time you lift or shift the fillet, you interrupt the crust that's forming and start over. Set it down and leave it alone for the full 4 to 5 minutes.
- Medium-high, not screaming hot. A pan that's too hot browns the outside before the inside is anywhere close, and it'll scorch the butter the moment it goes in. You want steady heat, not aggressive heat.
- Salmon sticking? It isn't ready to flip. Salmon releases on its own once a crust forms, usually right around the 4 minute mark. Give it another minute rather than forcing it with the spatula, which tears the fillet and leaves half the crust in the pan.
- Going too dark too fast? Lower the heat and keep going. Don't pull the fillet early to save it. A dark crust on salmon is closer to fine than it looks, and pulling it now means an undercooked center.
- Garlic browning too much? It went in too early or it was minced instead of smashed. Both burn inside the time the salmon needs, and burnt garlic makes the whole pan of butter bitter. Add smashed cloves with the butter at step 4, not before.
- Fillets finishing at different times? They weren't the same thickness. Pull the thinner ones as they hit temperature and let the thicker ones keep going. There's no way to fix it once they're in the pan, so match them up at the store if you can.
Prefer to Bake It?
The oven version trades the crust for convenience, and some nights that's the right trade.
Heat the oven to 400°F. Pat the fillets dry, season them, and set them on a lined sheet pan. Melt the butter with the smashed garlic, rosemary, and lemon zest, then spoon it over the fillets before they go in. Bake 12 to 15 minutes depending on thickness, then squeeze the lemon over them once they come out.
What changes: no crisp edges, and the garlic and rosemary sit on top rather than getting worked into the fish the way basting does. What you get back is a hands-off 15 minutes and no standing at the stove.
Same doneness temperatures apply. Start checking at 12 minutes.
Variations and Substitutions
- Swap the rosemary. Thyme behaves almost the same in the pan and gives you something softer and less piney. Dill goes the other direction, bright and grassy, and works better if you're leaning into the lemon. Both go in with the butter at step 4, same as rosemary.
- Swap the citrus. Lime instead of lemon gives you a sharper, more floral finish. Orange is milder and reads a little sweet against the butter, so use less of it than you would lemon.
- Add liquid to the butter. A splash of dry white wine or chicken broth after the butter melts loosens it into more of a pan sauce, which is what you want if you're serving this over rice or pasta. Let it bubble for 30 seconds before you start basting.
- Bring some heat. Red pepper flakes on the fillet before searing is the version in the recipe. If you'd rather the heat sit in the sauce, add a pinch to the butter instead. It's softer that way.
- Use a different fish. This method works on any firm fillet around an inch thick. Cod and halibut both sear well, though they're leaner than salmon and will be less forgiving on timing, so pull them earlier.
What to Serve With It
- Garlic fried rice. The butter and lemon leave a lot behind in the pan, and rice is what catches it. Filipino garlic fried rice is the one I make most often with this, since the toasted garlic lines up with the garlic in the butter instead of competing with it.
- Something green and sharp. Rich fish wants acid next to it. Garlic green beans cook in the same 20 minutes, or go colder with an arugula and pomegranate salad if the pan is already busy.
- Mashed potatoes. For a slower night. Cottage cheese mashed potatoes give you somewhere to spoon the extra butter sauce, which is otherwise the best part of this recipe going down the drain.
- Bread. Same logic. Anything crusty works for wiping the pan.
Storage and Reheating
Fridge. Cooked salmon keeps 3 to 4 days in an airtight container. Let it cool before it goes in, since trapped steam turns the crust soft overnight. You will not get that crust back, so plan the leftovers accordingly.
Freezer. It freezes for up to 3 months, but the texture takes a hit. The fish comes back drier and a little grainy. I would rather flake leftovers into something else than freeze them.
Reheating. Low and slow. A skillet over low heat with a splash of water, covered, for a few minutes is the gentlest option. The microwave works if you drop it to 50 percent power and check every 30 seconds. The salmon is already fully cooked, so reheating it at full power can quickly make it dry and chalky.
The better option: don't reheat it. Flake it cold over a salad, fold it into fried rice, or stir it through pasta with a little of the pan butter if you saved any. Cold salmon is genuinely good, and it sidesteps the overcooking problem entirely.
Recipe FAQs
Yes. Bake at 400°F for 12 to 15 minutes depending on thickness. Melt the butter with the garlic, rosemary, and lemon zest first and spoon it over the fillets before they go in. You lose the crisp edges, but you get a hands-off 15 minutes.
Yes, and I usually do. Thaw overnight in the fridge, or seal the fillets in a bag and submerge in cold water for 20 to 30 minutes. Pat them dry twice, since thawed salmon holds more surface water than fresh and that water prevents browning.
Both work. Skin-on gives you a buffer between the fish and the pan, so it is more forgiving if you overshoot on time. Skinless browns on both sides and cooks slightly faster. Press skin-on fillets lightly for the first 10 seconds so they do not curl.
I pull mine at 125 to 130°F for a tender, glossy center, or 135 to 140°F for something firmer. USDA guidance for fish is 145°F, so anything lower is a texture preference rather than a safety recommendation. Salmon keeps cooking off the heat, so pull it early.
It is not ready to flip. Salmon releases on its own once a crust forms, usually around the 4 minute mark. Forcing it with a spatula tears the fillet and leaves the crust behind. A wet fillet or a pan that was not hot enough will also cause sticking.
Yes. Use about 1 teaspoon dried in place of a tablespoon of fresh, since dried is more concentrated. Add it with the butter at the end so it softens in the fat rather than scorching in a dry pan.
The method works on any firm fillet around an inch thick. Cod and halibut both sear well, though they are leaner than salmon and less forgiving on timing, so pull them a minute or two earlier.
More Easy Seafood Dinners
Looking for other recipes like this? Try these:
- Baked Blackened Salmon for the nights you want the oven doing the work instead of the stove.
- Crab and Salmon Sushi Bake when you have a crowd and one fillet is not going to cut it.
- One Pan Spicy Shrimp if you liked the one-skillet part of this and want it faster.
- Blackened Mahi Mahi for a firmer, meatier fish that holds up to a heavier seasoning.

Did you try this recipe?
Share how it turned out in the comment box below, and if you loved it, share it on Facebook, Pinterest & Instagram.
Thank you!

Pan Seared Lemon Rosemary Salmon with Garlic Butter
Equipment
- 1 skillet
Ingredients
- 2 salmon fillets about 6 oz each
- ½ teaspoon salt
- ¼ teaspoon black pepper
- 1 tablespoon olive oil
- 1 tablespoon butter
- 2 cloves garlic
- 2 sprigs fresh rosemary or 1 teaspoon dried
- 1 lemon zest + juice
- Red pepper flakes optional
Instructions
- Pat the salmon fillets dry with paper towels. Season both sides with salt, pepper, and red pepper flakes if using. Do this right before cooking.2 salmon fillets, ½ tsp salt, ¼ tsp black pepper, Red pepper flakes
- Heat a cast iron or stainless skillet over medium-high heat. Add the olive oil and let it shimmer.1 tbsp olive oil
- Place the fillets in the pan, skin side down if skin-on, and press lightly for 10 seconds so they do not curl. Cook 4 to 5 minutes without moving them, until golden and the salmon releases from the pan on its own.2 salmon fillets
- Flip the fillets and reduce the heat to medium.
- Add the butter, smashed garlic cloves, rosemary sprigs, and lemon zest. Once the butter melts, tilt the pan and spoon the butter over the fillets continuously for 1 to 2 minutes, until the salmon reaches 125 to 130°F at the thickest part.1 tbsp butter, 2 cloves garlic, 2 sprigs fresh rosemary, 1 lemon
- Remove the pan from the heat. Squeeze the lemon juice over the fillets and let them rest 2 to 3 minutes before serving. Spoon the pan butter over the top.
Save This Recipe 💌
Notes
- Frozen salmon works. Thaw overnight in the fridge, or seal in a bag and submerge in cold water for 20 to 30 minutes. Remove vacuum-sealed fillets from the packaging before thawing. Pat dry twice, since thawed salmon carries more surface water than fresh.
- Doneness. 125 to 130°F gives a tender, glossy center. 135 to 140°F is firmer. USDA guidance for fish is 145°F, so anything lower is a texture preference. Salmon keeps cooking off the heat, so pull it early.
- Match your fillet thickness. Around 1 inch is ideal. Thinner fillets cook faster than the timing above, so start checking at 3 minutes.
- Dried rosemary. Use about 1 teaspoon dried in place of a tablespoon of fresh. Add it with the butter at step 5 so it softens in the fat instead of scorching.
- Do not mince the garlic. Smashed cloves survive the pan. Minced garlic scorches in the time the salmon needs and turns the butter bitter.
- Oven method. Bake at 400°F for 12 to 15 minutes. Melt the butter with the garlic, rosemary, and zest first and spoon it over the fillets before baking. Start checking at 12 minutes.
- Storage. Keeps 3 to 4 days in an airtight container in the fridge. Reheat covered over low heat with a splash of water, or flake it cold over a salad instead.