

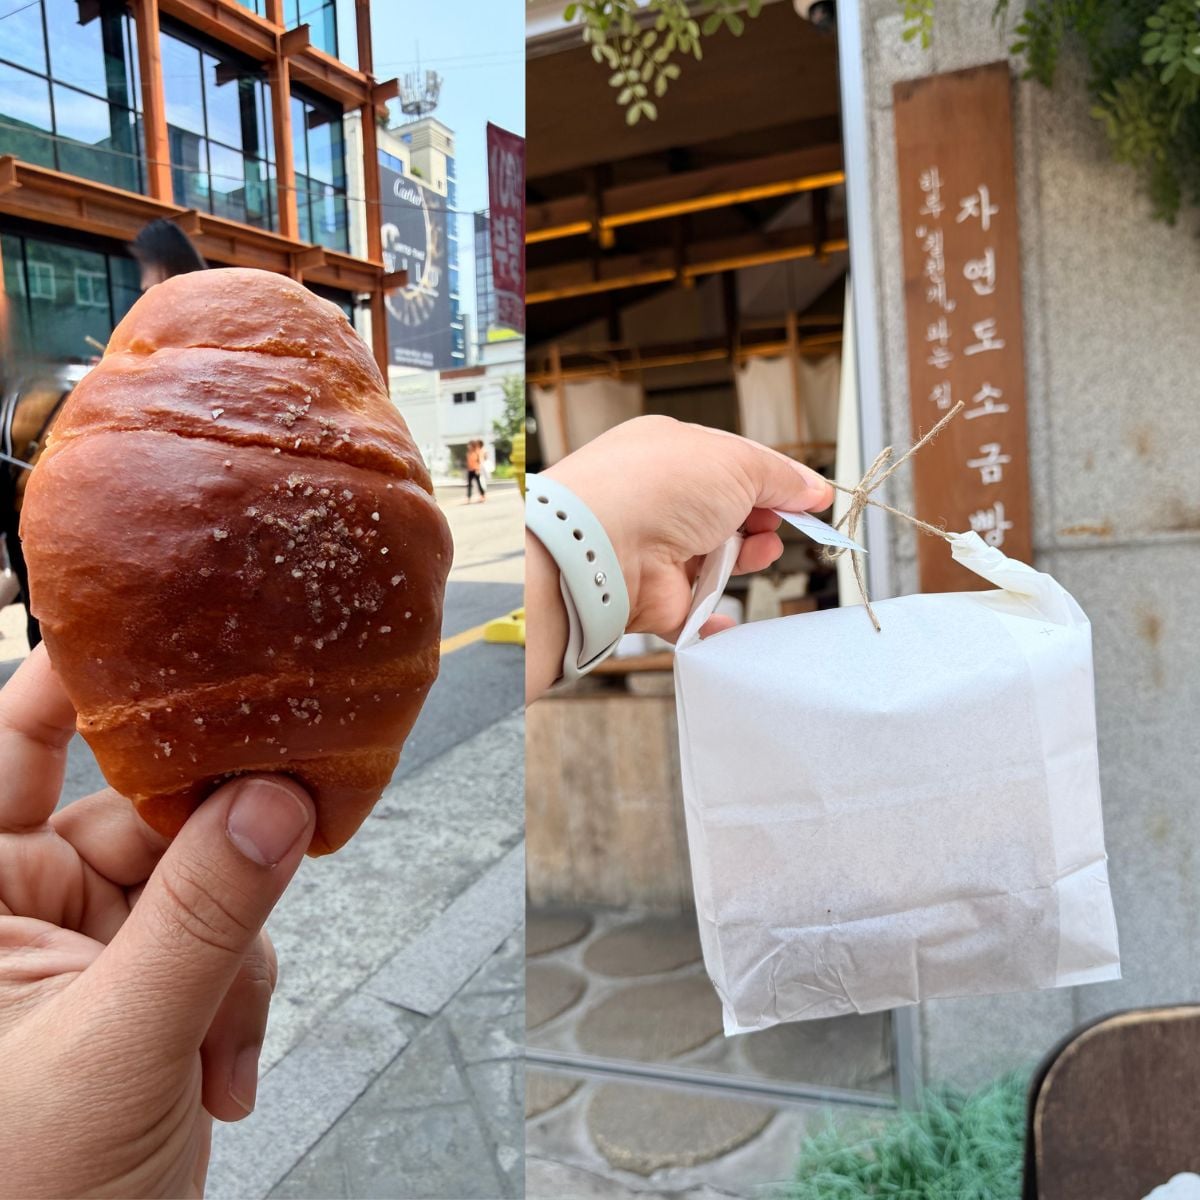
I tried three different salt breads in Korea. Jayeondo was the one I kept thinking about after we got home.
Theirs is built on expensive ingredients: Canadian CW1 wheat flour, French butter, French sea salt. That's a real part of why it tastes the way it does, and it's not something I was going to fully match at home.
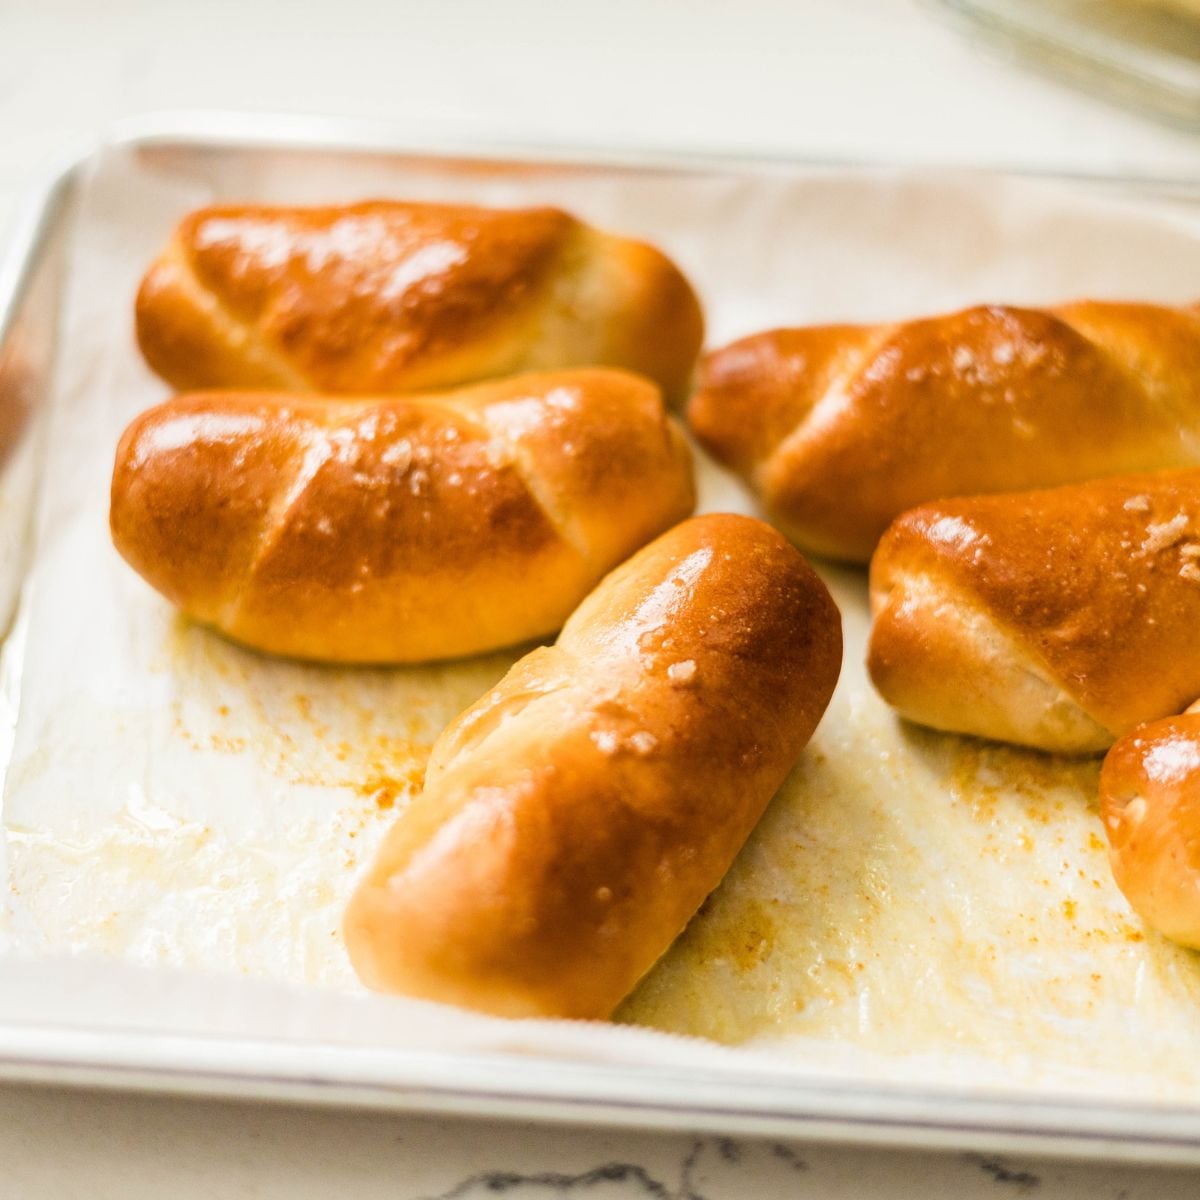
What I could copy was the method. Roll a piece of cold salted butter inside each portion of dough, seal it, bake. The butter melts, runs out into the pan, and fries the bottom from underneath while the inside puffs up around the space it left behind. That's where the hollow comes from, and it's what makes these different from any other soft roll.
I tested this with the Kirkland butter I always have on hand and it worked. When I'm feeling fancy I use French butter I used to get from a local bakery, and you can taste the difference, but don't let that stop you from making them with what's in your fridge.
No lamination, no bread machine, no special flour. If you've made Spanish bread or pandesal, the shaping will feel familiar. Same rolling motion, cold butter instead of sweet filling.
Save This Recipe 💌
Jump to:
What Is Salt Bread (Shio Pan)?
Shio pan means salt bread in Japanese, and it's exactly what it sounds like. A soft milk bread roll with a piece of salted butter rolled inside and flaky salt scattered on top.
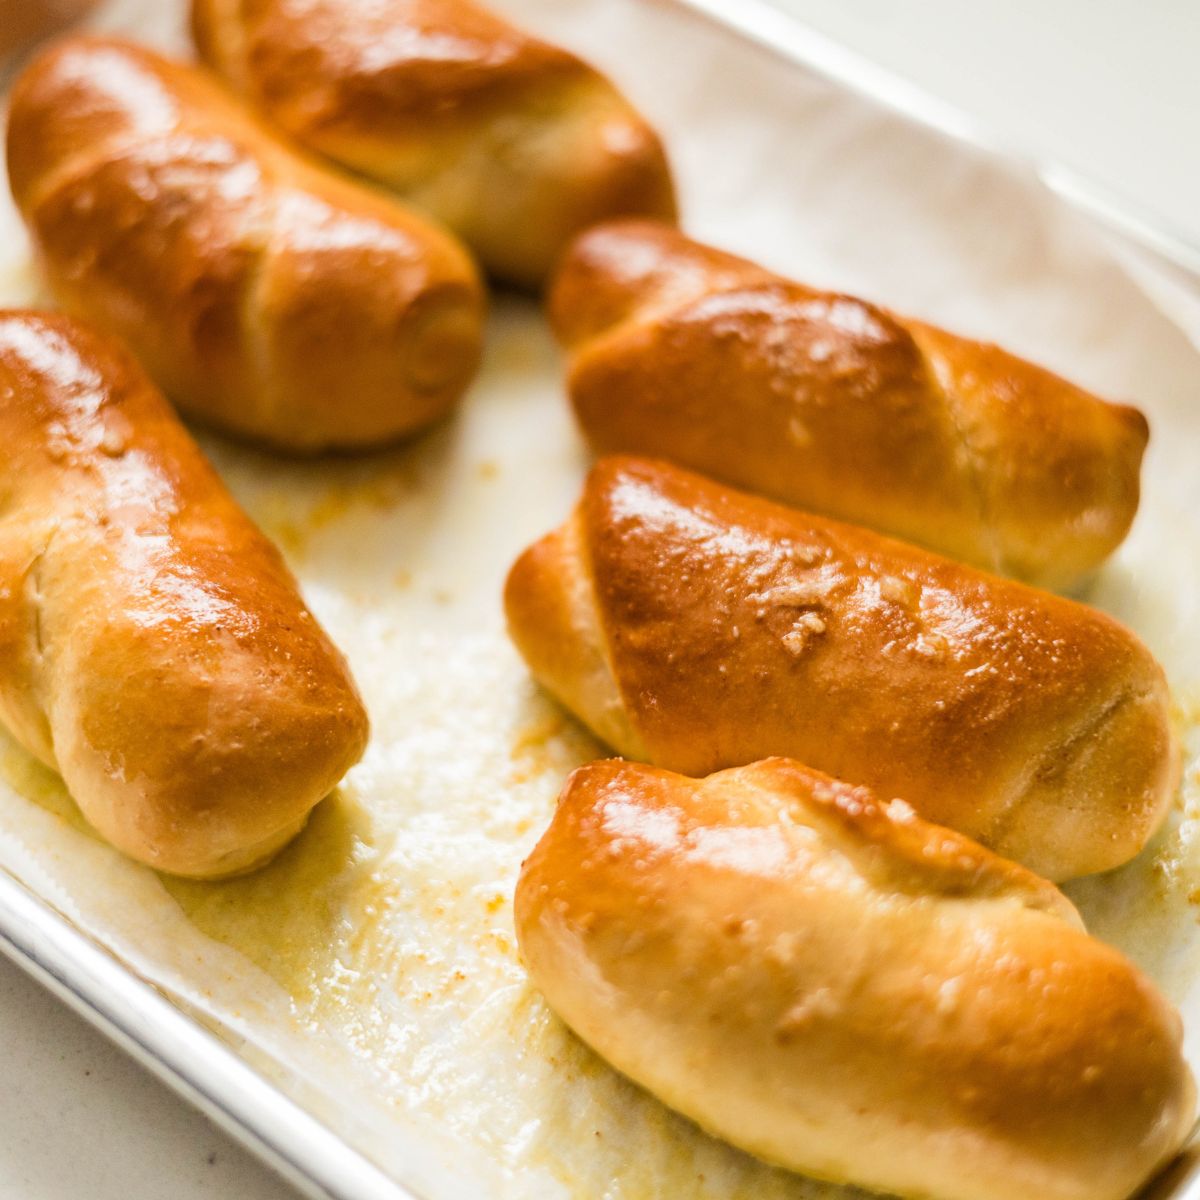
What makes it different from a dinner roll is what happens in the oven. The butter melts, seeps out of the dough, and pools underneath. The roll fries in it. You end up with a bottom that's deeply golden and crisp, almost like a croissant, while the inside stays soft and airy with a hollow where the butter used to be.
It caught on in Japan in the early 2000s, then again in Korea, where it's called sogeum-ppang and every café seems to have a version. That second wave is why you'll see it labeled Korean salt bread as often as Japanese.
It's also not sweet. There's enough sugar to feed the yeast and round out the salt, but these work as a breakfast roll, a side for soup, or something you eat standing at the counter.
Why You'll Love This Recipe
- The bottom fries itself. You're not brushing anything on or flipping anything over. The butter inside melts out, pools under the roll, and crisps the base while it bakes. That's the whole trick.
- Croissant texture without lamination. These are shaped like croissants but there's no folding, chilling, or rolling out layers of butter. One piece of cold butter, rolled up once, sealed.
- Not sweet. Enough sugar to feed the yeast and balance the salt, nothing more. They work with soup, with eggs, or on their own.
- No special equipment. No bread machine, no stand mixer required. Hand kneading takes 15 to 20 minutes and that's the longest part of the whole recipe.
- Better with butter you already have. I tested these with Kirkland butter and they came out well. Good French butter makes them better, but it isn't the difference between working and not working.
Ingredients
Dough
- Bread flour: Gives the dough the strength to hold its shape while the butter melts out of it. Without enough structure the rolls slump instead of puffing up around the hollow.
- Cake flour: Softens the crumb. American bread flour runs higher in protein than Japanese bread flour, so mixing in cake flour gets you closer to the texture you'd get at a Japanese bakery. This is the swap that matters most in the whole list.
- Milk: Whole milk. The fat and the milk sugars both keep the crumb tender and help the tops brown.
- Sugar: Feeds the yeast and rounds off the salt. Not enough to make these sweet.
- Instant yeast: Check the date on the packet. Old yeast is the most common reason bread rolls come out dense.
- Salt: For the dough itself, separate from the flaky salt on top.
- Salted butter: Softened, worked into the dough. Adds flavor and keeps the crumb tender.
Filling
- Salted butter, cold: Cut into 12 pieces at 7 grams each. This is the piece that melts out and fries the bottom, so it has to go in cold. Soft butter smears into the dough during shaping and you lose the hollow.
- Flaky sea salt: Maldon is what I use. Table salt dissolves into the crust and disappears. Flakes stay put, so you get salt in distinct bites rather than throughout.
- Total butter: 113 g, one stick. 29 g in the dough, 84 g in the filling.
- On butter quality: I tested these with Kirkland butter and they worked. A European-style butter with higher fat makes a noticeable difference in flavor, and since butter is most of what you taste here, this is the recipe to use the good stuff on if you have it. Not required.
- Why there's no tangzhong: Some Japanese milk bread recipes cook a flour and milk paste first to keep the crumb soft. This dough doesn't need it. The cake flour softens it and the butter rolled inside does the rest.
See recipe card for quantities.
How To Make Shio Pan
Make the Dough
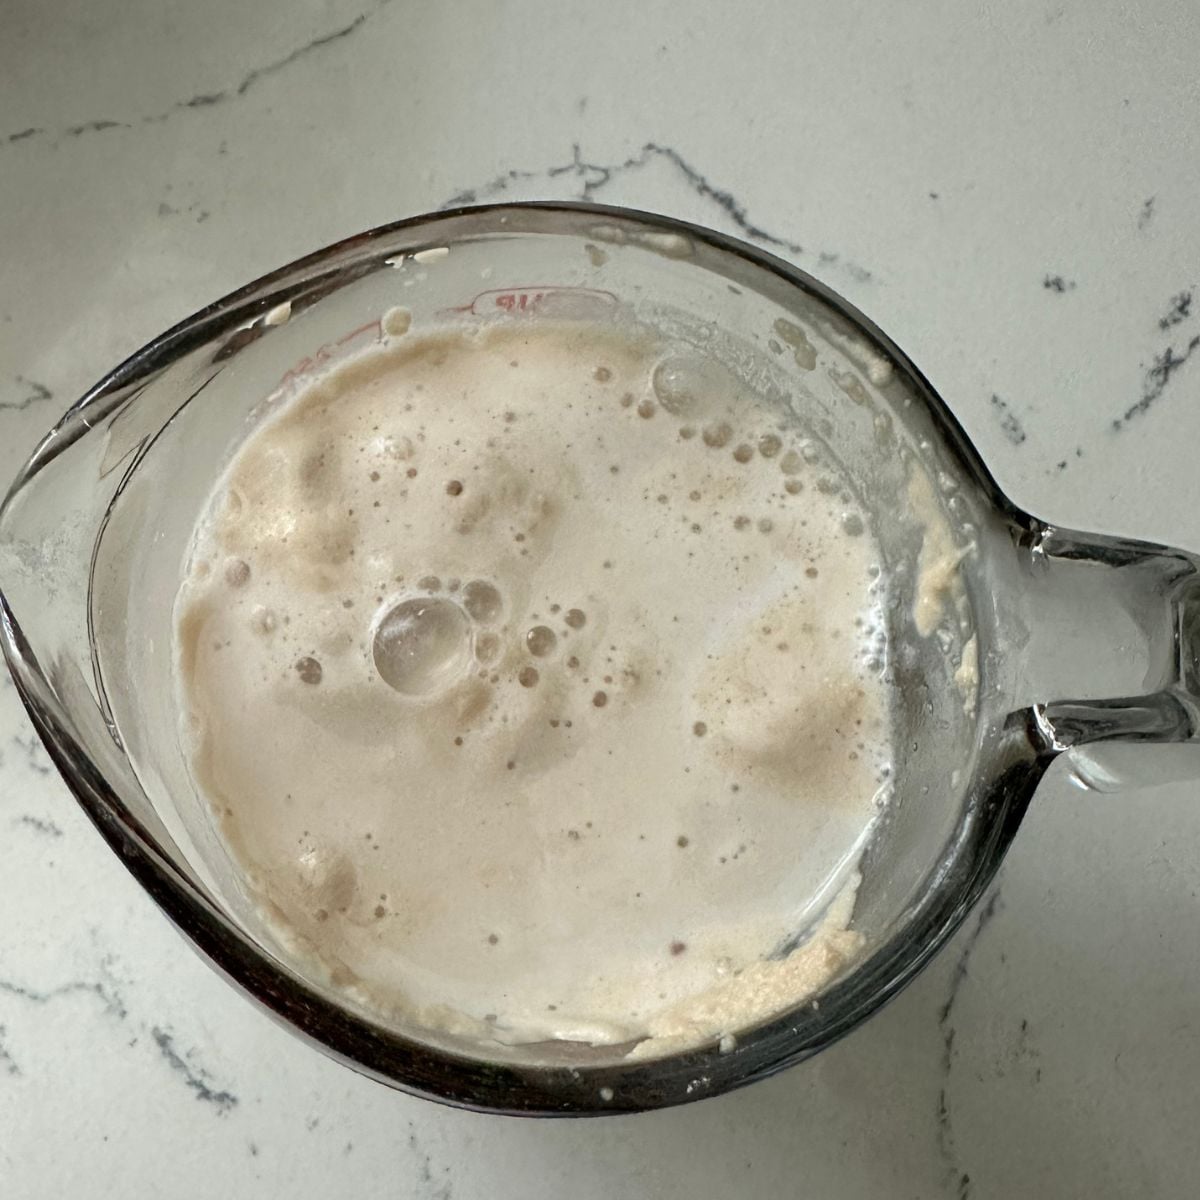
- Activate the yeast. Combine the milk, yeast, and 4 grams of the sugar in a small bowl. Stir and let it sit about 5 minutes until foamy. If nothing happens, the yeast is dead and it's worth starting over rather than pushing through.
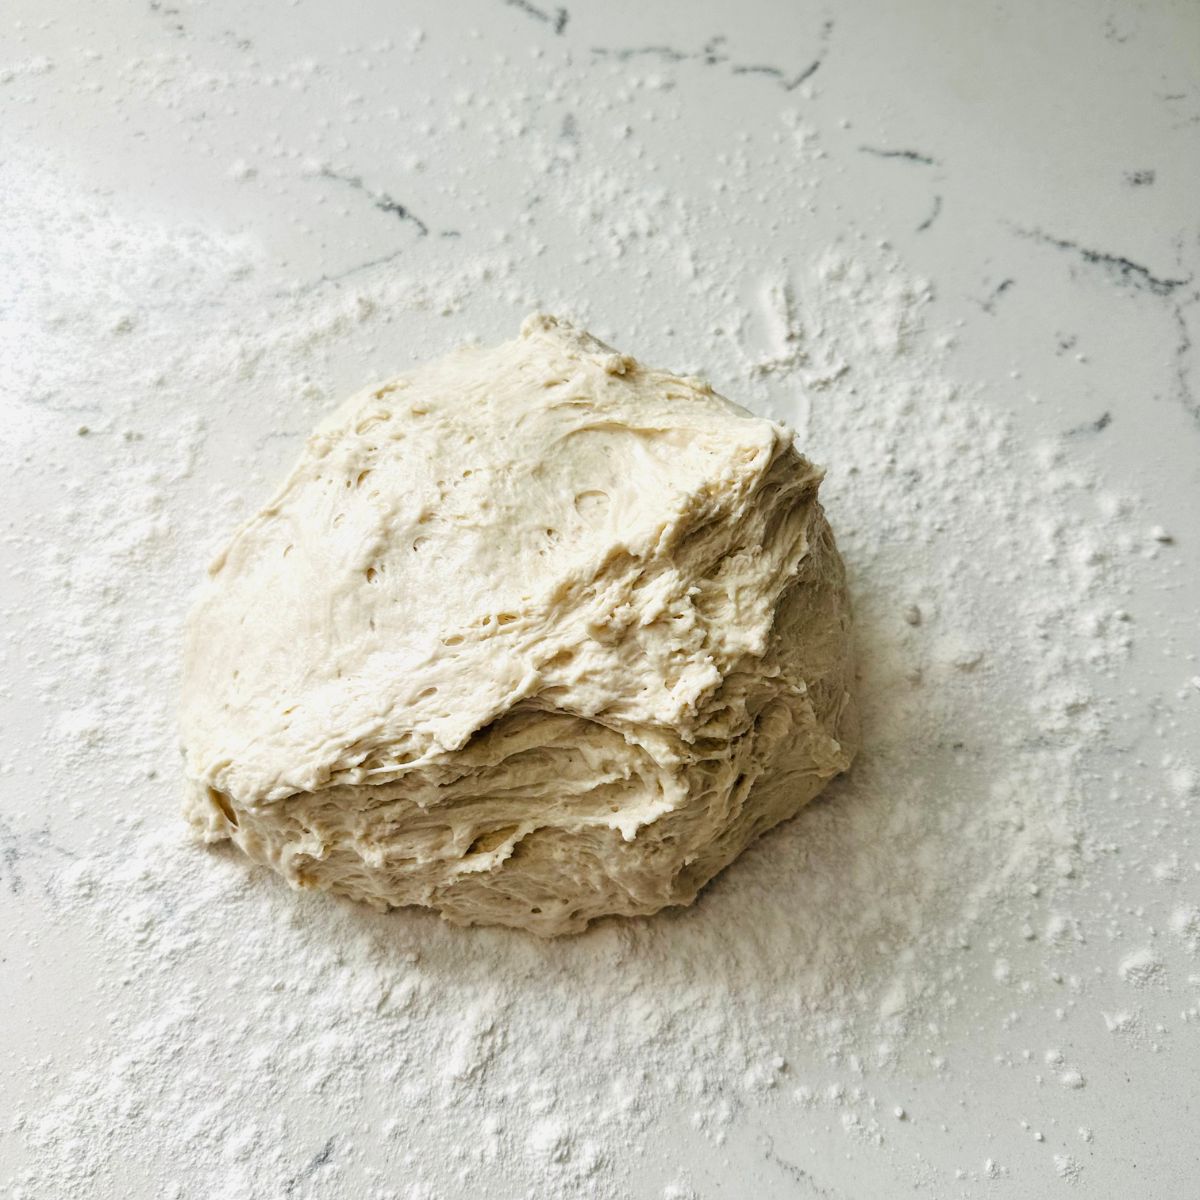
- Mix and knead. Combine the bread flour, cake flour, and remaining 30 grams of sugar in a large bowl. Add the milk and yeast mixture and stir until no dry flour remains. Mix in the salt and 29 grams of softened butter, then knead until smooth and elastic, about 15 to 20 minutes by hand or 10 minutes in a stand mixer. The dough should feel soft and slightly tacky, not sticky.
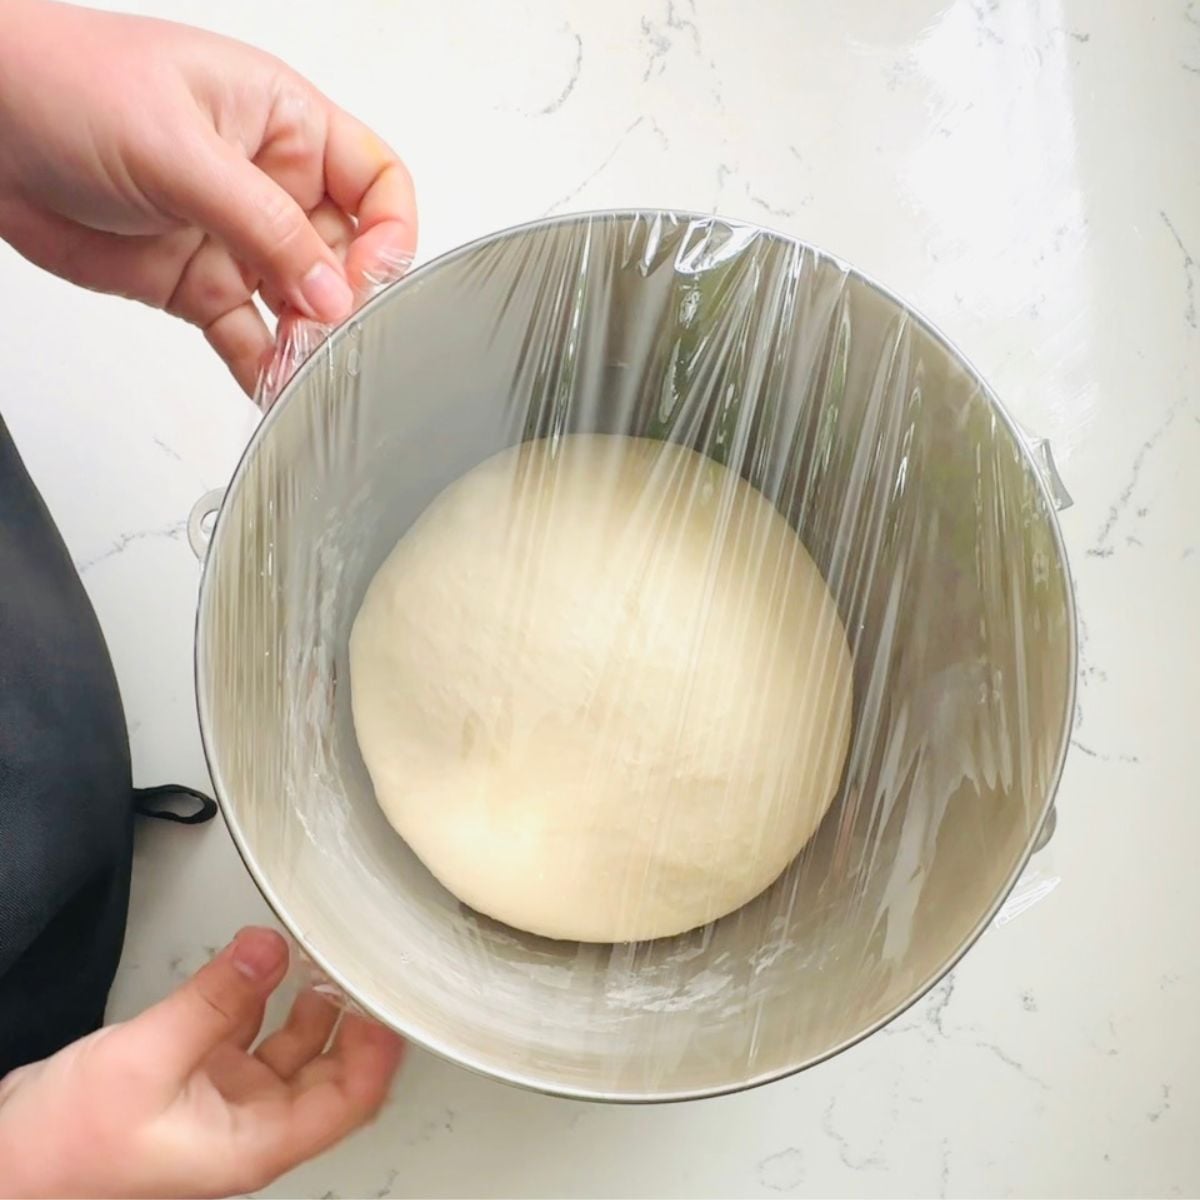
- First rise. Cover with a damp towel or plastic wrap and let it rise in a warm spot about 1 hour, until doubled. Don't let it go much past doubled. Overproofed dough loses the structure that holds the hollow open.
Shape the Rolls
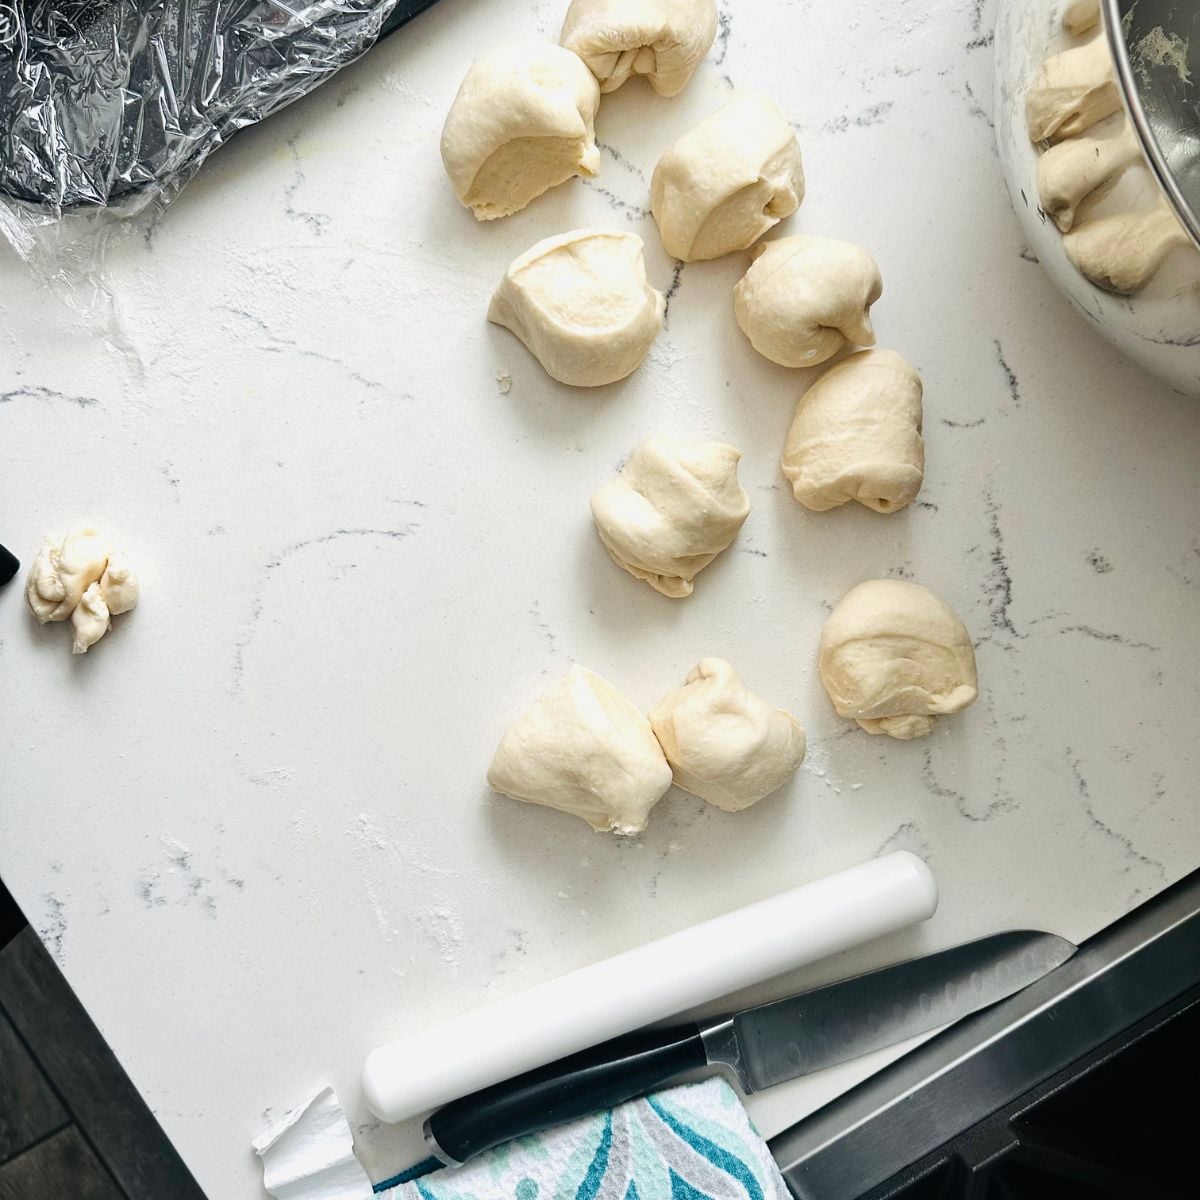
- Divide and rest. Punch the dough down gently to degas it. Turn it onto a lightly floured surface and divide into 12 pieces, about 55 to 60 grams each. Roll each into a rough ball, cover with a towel, and rest 10 to 15 minutes. This relaxes the gluten so the dough stops fighting you when you roll it out.
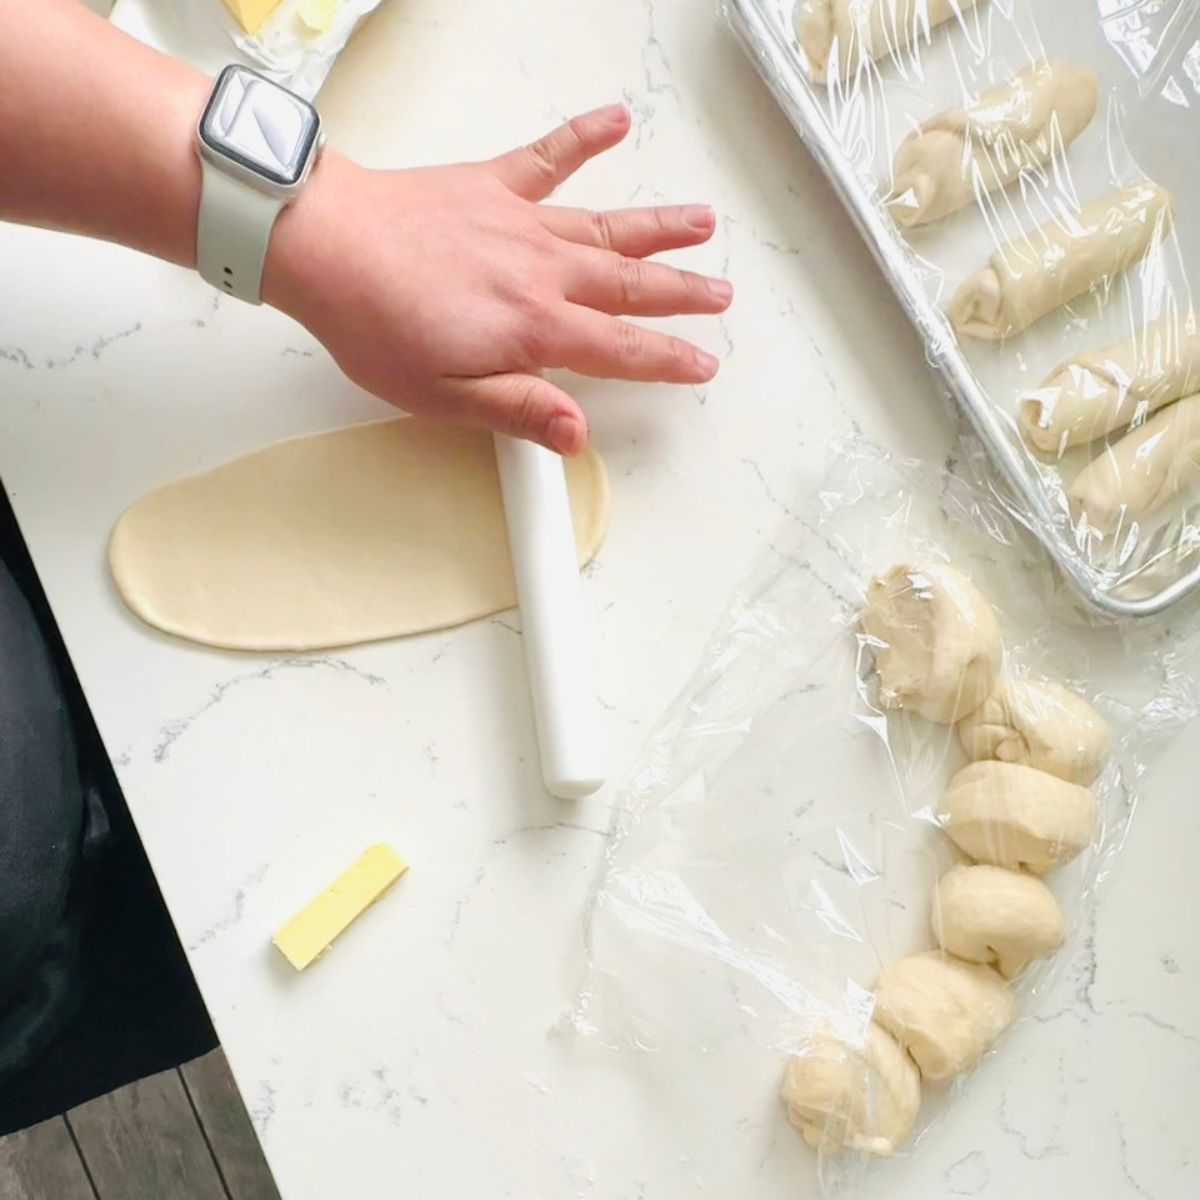
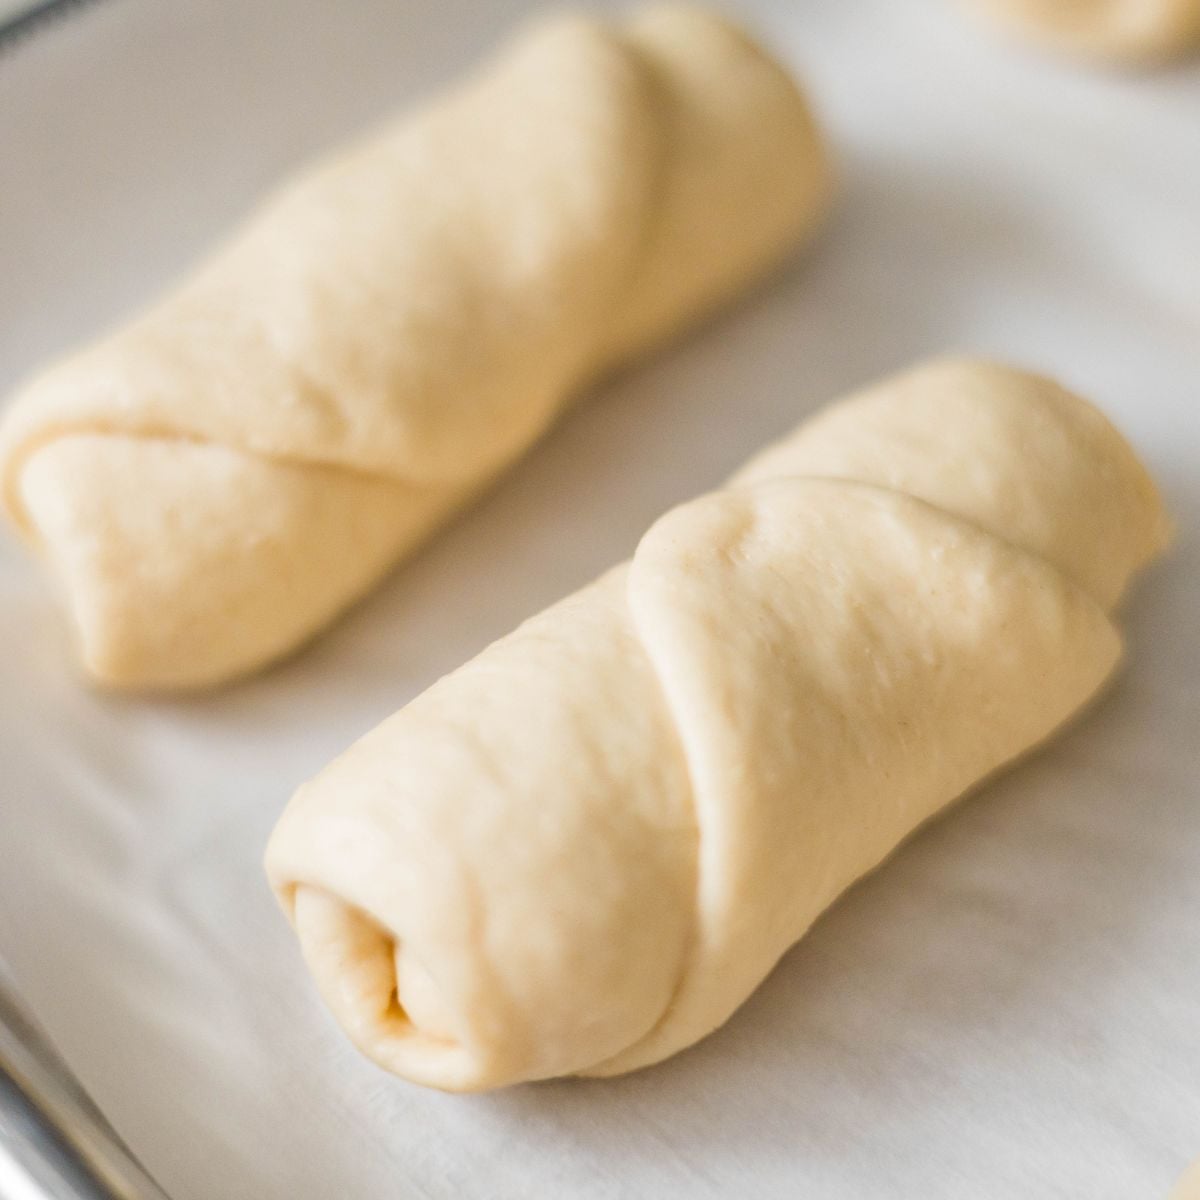
- Roll and fill. Start with the first ball you shaped, since it's had the longest rest. Roll it into an oval 6 to 7 inches long and 3 to 4 inches wide. Place one 7 gram piece of cold butter at the end closest to you. Roll the dough tightly around the butter, working away from you, then pinch the seam and both ends closed. Seal it properly. Any gap and the butter escapes into the pan instead of staying put long enough to hollow out the middle.
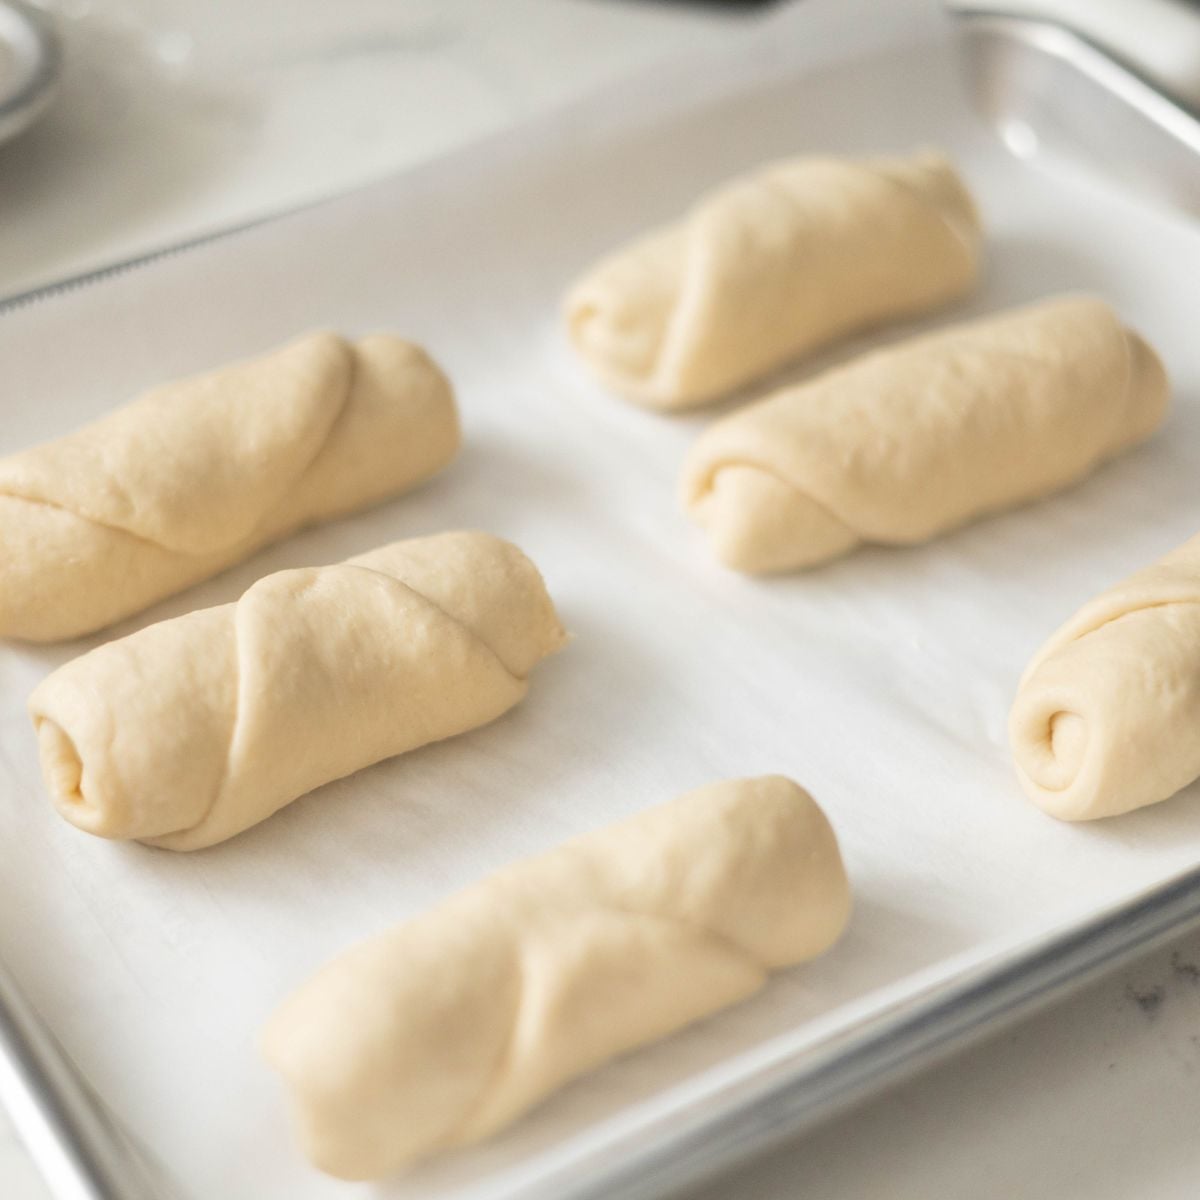
- Arrange and second rise. Place each roll seam-side down on a parchment-lined baking sheet, about 2 inches apart. Cover loosely and let rise 30 to 40 minutes, until puffy but not doubled. They should look noticeably larger while still holding their shape.
- Salt the tops. Preheat to 375°F while the rolls are rising. Right before baking, mist or brush the tops lightly with water and sprinkle generously with flaky sea salt. Water helps the salt stick without adding anything that browns.
- Bake 18 to 22 minutes. Until the tops are golden and the bottoms are deeply golden and crisp. Lift one to check. If the bottom is pale, give it another 2 to 3 minutes, since the bottom is the whole point. Tent with foil if the tops darken too fast. Cool on the sheet 5 minutes, then move to a rack and serve warm.
Variations
- Garlic butter: Mix minced garlic into softened butter, chill it until firm, then cut and roll it in. It has to be cold going into the dough or it smears. Brush the tops with more garlic butter after they come out of the oven rather than before, so the salt still sticks.
- Cheese: A small cube of mozzarella tucked in next to the butter. Use less butter, around 5 grams, since cheese releases fat too and you'll get leakage otherwise.
- Cacio e pepe: Grated parmesan and a good amount of cracked black pepper alongside the butter. Savory, sharper than the plain version, and the pepper is visible through the crumb when you tear one open.
- Kaya jam: Coconut jam alongside the butter.
- Honey butter: Brush warm rolls with equal parts melted butter and honey the moment they leave the oven. This one goes on top rather than inside, so it doesn't affect the bake at all.
Rose's Top Tips
- Keep the filling butter cold. Cut it into 12 pieces and leave it in the fridge until the moment you shape. Soft butter smears into the dough as you roll, and instead of one piece melting out cleanly you get grease worked through the crumb and no hollow.
- Don't skip the rest after dividing. Ten to fifteen minutes lets the gluten relax. If the dough springs back when you try to roll it out, it needs longer. Fighting it just tears the dough, and a tear is where the butter escapes.
- Seal the seam and both ends. Pinch them properly. Any gap and the butter runs out early, which means a greasy pan and a roll that's soft on the bottom instead of crisp.
- Roll snug, not tight. You want the dough wrapped closely around the butter, but stretching it thin as you roll leaves weak spots that tear during the second rise.
- Underproof the second rise rather than overproof it. Puffy, not doubled. Overproofed rolls have lost the structure that holds the hollow open, and they collapse in the oven.
- Check the bottom, not the top. The tops brown before the bottoms are done. Lift one at 18 minutes and look. If it's pale, it needs another 2 to 3 minutes, because the bottom is the entire point of this bread.
- Use flaky salt, not fine. Table salt or fine sea salt dissolves into the crust and disappears. Flakes stay whole so you get salt in distinct bites.
- Eat them warm. These are at their best within about half an hour of coming out of the oven, while the bottoms are still crisp and there's still melted butter inside. They're good later, they're just not the same thing.
Storage and Reheating
Room temperature: Airtight container or a resealable bag for up to 2 days. The bottoms lose their crispness overnight, which is expected. The bread is still good, it just needs reheating to get back to what it was.
Reheating: 350°F oven for 5 to 7 minutes. This is the one that brings the bottom back. A skillet over medium heat, cut side down, works too and is faster if you're only doing one or two. The microwave softens them further, so skip it unless you don't care about the crust.
Freezing baked rolls: Cool completely, then freeze in a bag for up to 3 months. Thaw at room temperature and reheat in the oven. They come back close to fresh, closer than day-two rolls left on the counter.
Freezing unbaked rolls: Shape them, place on a tray, and freeze until solid, then transfer to a bag. When you want them, put them on a lined sheet, let them thaw and rise at room temperature until puffy, about 2 to 3 hours, then bake as usual. This is the better option if you're planning ahead, since you get rolls that came straight out of the oven rather than reheated ones.
Recipe FAQs
No. Some Japanese milk bread recipes cook a flour and milk paste first to keep the crumb soft. This dough doesn't need it. The cake flour softens the crumb and the butter rolled inside does the rest.
You can, but the rolls come out chewier and less tender. American bread flour runs higher in protein than Japanese bread flour, and the cake flour is what bridges that gap. If bread flour is all you have, they'll still be good, just denser than the bakery version.
The seam wasn't sealed tightly enough, or the dough tore while you were rolling. Pinch the seam and both ends firmly, and don't roll the dough so thin that it stretches. Butter that escapes early means a greasy pan and a soft bottom instead of a crisp one.
Usually underkneading or dead yeast. The dough should be smooth and elastic before the first rise, and the yeast should foam within about 5 minutes when you activate it. Overproofing does it too, so let the dough double and no more.
Yes. After the first rise, punch it down, cover tightly, and refrigerate overnight. The next day let it come back to room temperature, about 30 to 45 minutes, then shape and do the second rise as usual.
Yes, but you'll want to add a little salt to the dough to compensate, and the filling will taste flatter. Salted butter is what these are built on, since the salt inside is doing as much work as the flakes on top.
Any flaky sea salt works. Jacobsen, French fleur de sel, pretzel salt or even kosher salt at a push. What you're avoiding is table salt or fine sea salt, which dissolve into the crust and disappear.
No. Hand kneading takes 15 to 20 minutes instead of 10, which is longer but not harder. The dough is enriched enough that it stays manageable rather than turning into a wrestling match.
More Bread Recipes You'll Love
Looking for other recipes like this? Try these:

Did you try this recipe?
Share how it turned out in the comment box below, and if you loved it, share it on Facebook, Pinterest & Instagram.
Thank you!


Salt Bread (Shio Pan)
Equipment
- Stand mixer with dough hook (or large mixing bowl)
- Kitchen scale (optional but recommended)
- Rolling Pin
- Baking sheet
- parchment paper
- Pastry brush
Ingredients
For the Dough:
- 240 grams (2 cups) bread flour
- 120 grams (1 cup) cake flour
- 34 grams sugar divided (4g for yeast activation, 30g for dough)
- 6 grams (2 teaspoons) active dry yeast
- 5 grams (1 teaspoon) salt
- 230 grams milk room temperature
- 29 grams salted butter softened
For the Filling:
- 84 grams salted butter cut into 12 pieces (7g each), kept cold
For the Topping:
- Maldon sea salt flakes
Instructions
- Activate the yeast: In a small bowl, combine warm milk, yeast, and 4g sugar. Stir and let sit for 5 minutes until foamy.34 grams sugar, 230 grams milk, 6 grams (2 teaspoons) active dry yeast
- Make the dough: In a large mixing bowl, combine bread flour, cake flour, and remaining 30g sugar. Pour in the milk-yeast mixture and stir until a shaggy dough forms.240 grams (2 cups) bread flour, 120 grams (1 cup) cake flour, 34 grams sugar
- Knead: Add salt and softened salted butter. Knead until smooth and elastic - 15-20 minutes by hand or 10 minutes in a stand mixer with dough hook. The dough should be soft, slightly tacky, and pass the windowpane test.5 grams (1 teaspoon) salt, 29 grams salted butter
- First rise: Cover the bowl with plastic wrap or a damp towel and let rise in a warm place for 1 hour or until doubled in size. Don't overproof - it should exactly double, not triple.
- Divide and rest: Punch down the dough to degas. Divide into 12 equal pieces (about 57g each). Form each piece into a smooth ball. Cover and let rest for 10-15 minutes.84 grams salted butter
- Shape the rolls: Working with the first ball you formed (while others rest), roll it into a long rectangle or oval about 4-5 inches long. Place one piece of cold butter (7g) at one end. Roll tightly toward the other end, like a mini jelly roll. Pinch the seam firmly to seal. Repeat with remaining dough balls in the order you formed them.
- Second rise: Place shaped rolls seam-side down on a parchment-lined baking sheet, spacing them 2 inches apart. Cover loosely and let rise for 30 minutes until noticeably puffy.
- Prep for baking: Preheat oven to 375°F. Brush/ Spray rolls with water or milk and sprinkle with Maldon sea salt flakes.Maldon sea salt flakes
- Bake: Bake for 12-15 minutes until deep golden brown on top. The rolls should sound hollow when tapped on the bottom.
- Cool and serve: Let cool for 5 minutes on the baking sheet, then transfer to a wire rack. Serve warm - tear one open and watch that butter pool out.
Mona says
my butter leaked out everywhere while baking, did i not seal the seam tight enough?
Rose Sioson says
Probably, yeah. The seam needs to be pinched really well or the butter finds its way out as it melts. Chilling the shaped rolls for a few minutes before baking helps too, keeps the butter firmer longer so it doesn't leak before the dough sets.