

I wanted something crunchy on a salad without reaching for a bag of white sugar. Butter, maple syrup, and walnuts in one skillet turned out to be the answer, and I've been making them on repeat since.
These candied maple walnuts take about 10 minutes on the stove. No oven, no candy thermometer, no refined sugar. Three ingredients and a pan you probably already have out.
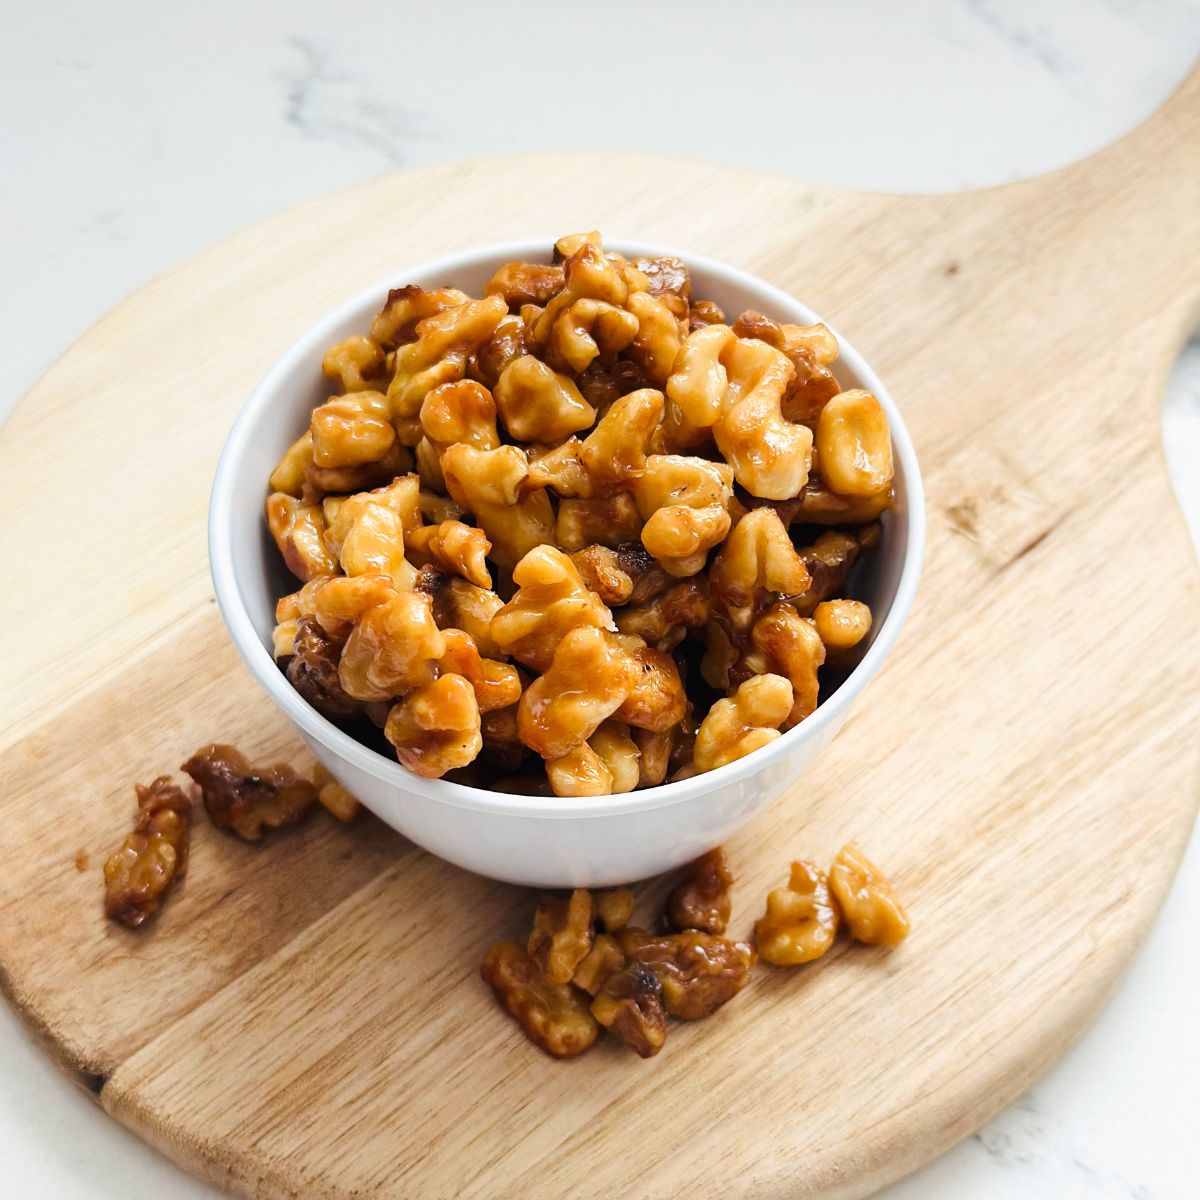
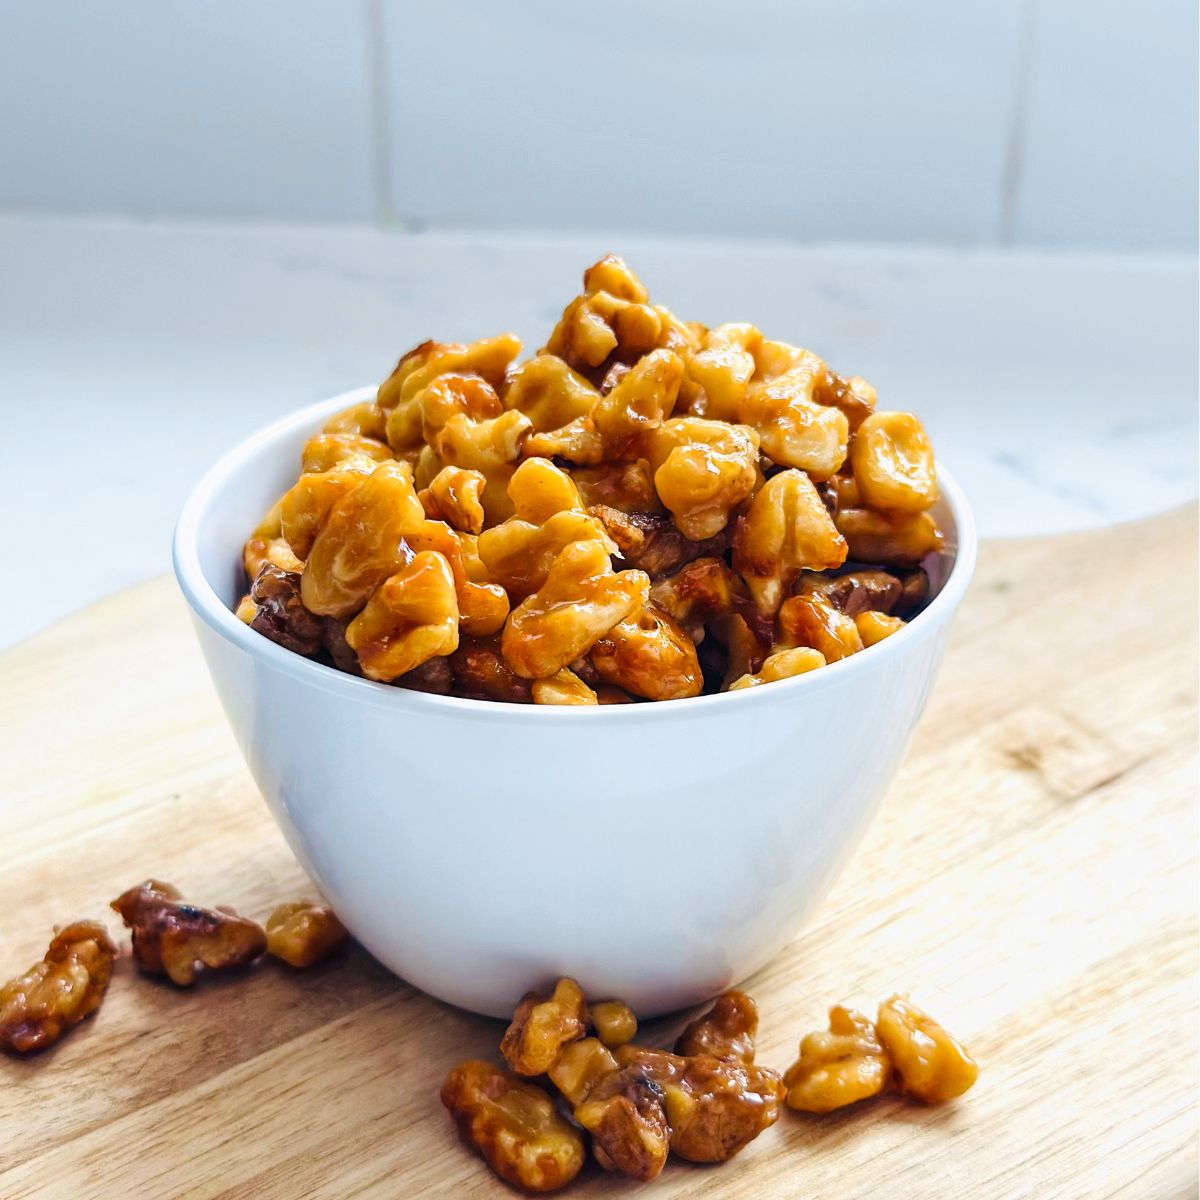
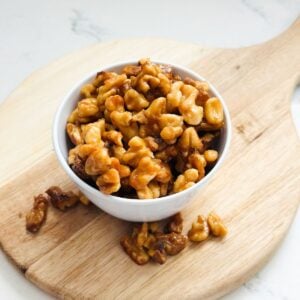
The part that matters is what happens after. They come off the heat looking soft and glossy, then crisp up as they cool into a thin, snappy coating instead of the tacky mess candied nuts usually turn into.
Now they go on fall salads, on top of persimmon and burrata, over ice cream, or straight out of the jar while I'm standing at the counter.
Save This Recipe 💌
Jump to:
Why You'll Love This Recipe
- Three ingredients, one pan. Walnuts, salted butter, and pure maple syrup. Nothing else, and no candy thermometer.
- Ready in about 10 minutes. Active stovetop time only, plus 30 minutes of hands-off cooling while they set.
- No refined sugar. The maple syrup does the caramelizing on its own, so there's no white sugar in the coating.
- They cool crisp, not sticky. A thin, snappy coating that holds up for two weeks in a jar instead of turning tacky by day two.
- Good on almost anything. Salads, ice cream, yogurt, oatmeal, or straight from the jar.
Ingredients
Here's what you'll need:
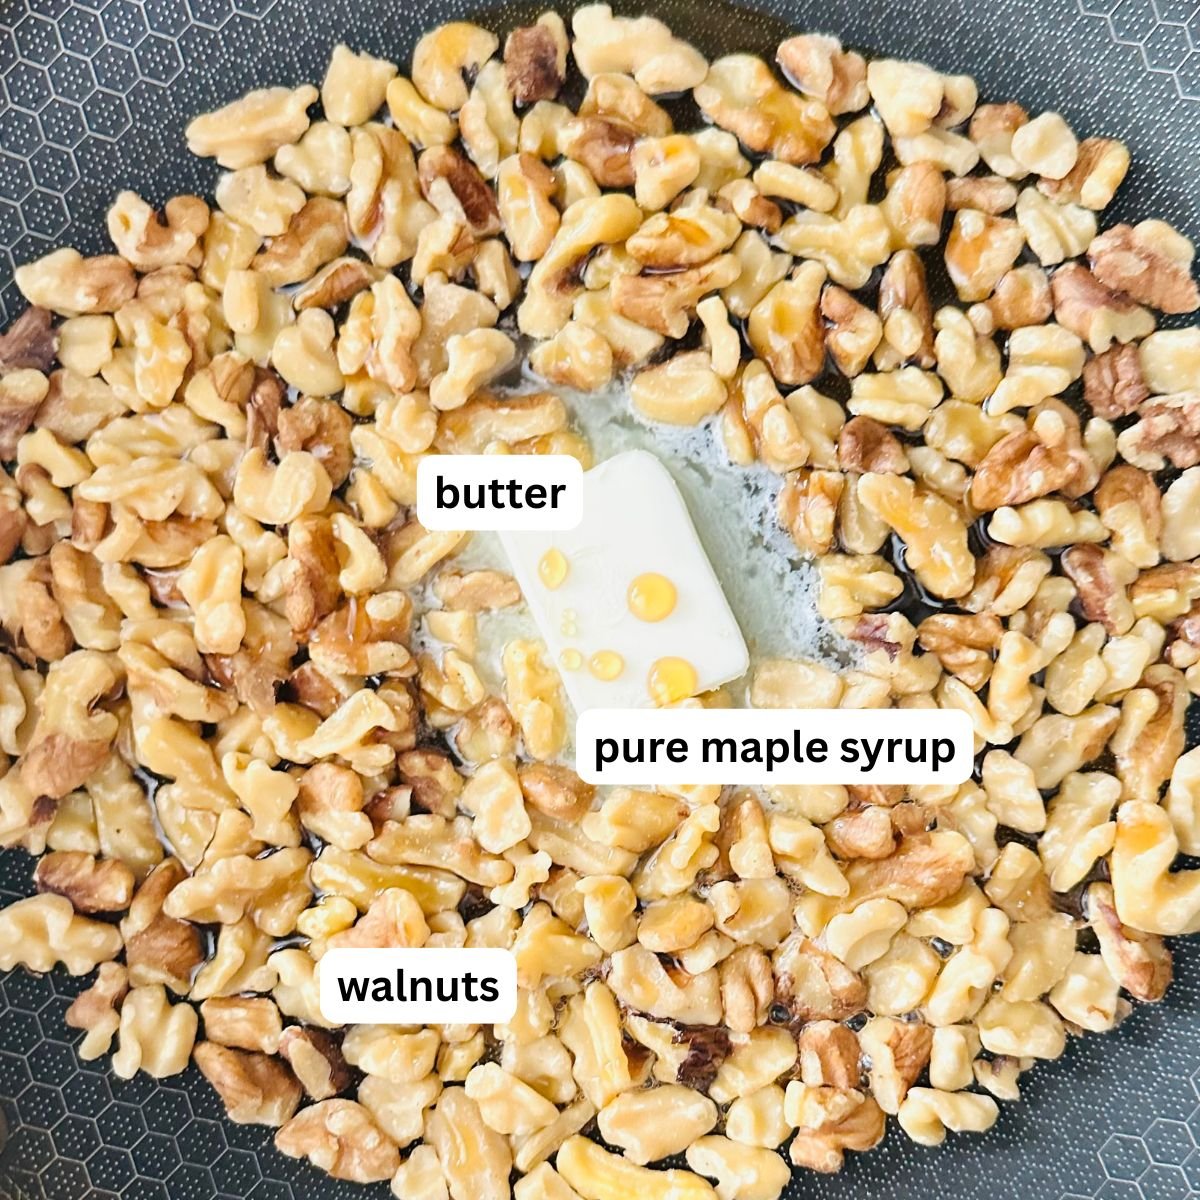
- Walnuts. Use raw and unsalted. Roasted walnuts toast a second time in the pan and go bitter, and salted ones fight the salt already coming from the butter. Halves or pieces both work, though halves hold their shape better if you want them to look good on a salad. One thing worth checking before you start: taste a walnut. Nuts that have been sitting in the pantry for months turn bitter on their own, and no amount of maple syrup covers that up.
- Pure maple syrup. Real maple syrup only, not pancake syrup. The entire recipe depends on the syrup reducing and caramelizing, and pancake syrup is mostly corn syrup with flavoring, so it thins out and stays wet instead of setting. Grade A dark gives you a stronger maple flavor if you have the choice.
- Salted butter. This is what separates these from the maple-only versions. Butter carries salt evenly through the coating instead of leaving salty spots, it keeps the syrup from seizing into hard candy, and it browns slightly as it cooks for a toasted note that syrup alone won't give you. If you only have unsalted, use it and add a pinch of salt with the maple syrup.
That's it. Three ingredients, one pan.
One note on the pan. Use a heavy-bottomed skillet, nonstick or stainless. Thin pans concentrate heat in spots and take the syrup from caramelized to burnt in a matter of seconds, which is the most common way this recipe goes wrong.
Substitutions
- Butter to coconut oil or vegan butter. Both work and keep the recipe dairy-free. The coating sets a little softer than it does with butter, so give them the full 30 minutes to cool before you decide they didn't work.
- Walnuts to another nut. Pecans, almonds, or cashews all take the maple coating well. Pecans have more oil and cook faster, so start checking them around the 4 minute mark instead of 5.
- Maple syrup to honey. It works, but honey burns faster than maple syrup does, so drop the heat slightly and don't step away from the pan. The flavor leans floral instead of caramel.
Additions
- Cinnamon or pumpkin spice. About half a teaspoon, stirred in with the maple syrup so it toasts in the pan rather than sitting raw on the surface.
- A pinch of cayenne. Not enough to read as spicy, just enough to keep the sweetness from flattening out. Good if these are going on a cheese board.
How to Make Candied Maple Walnuts
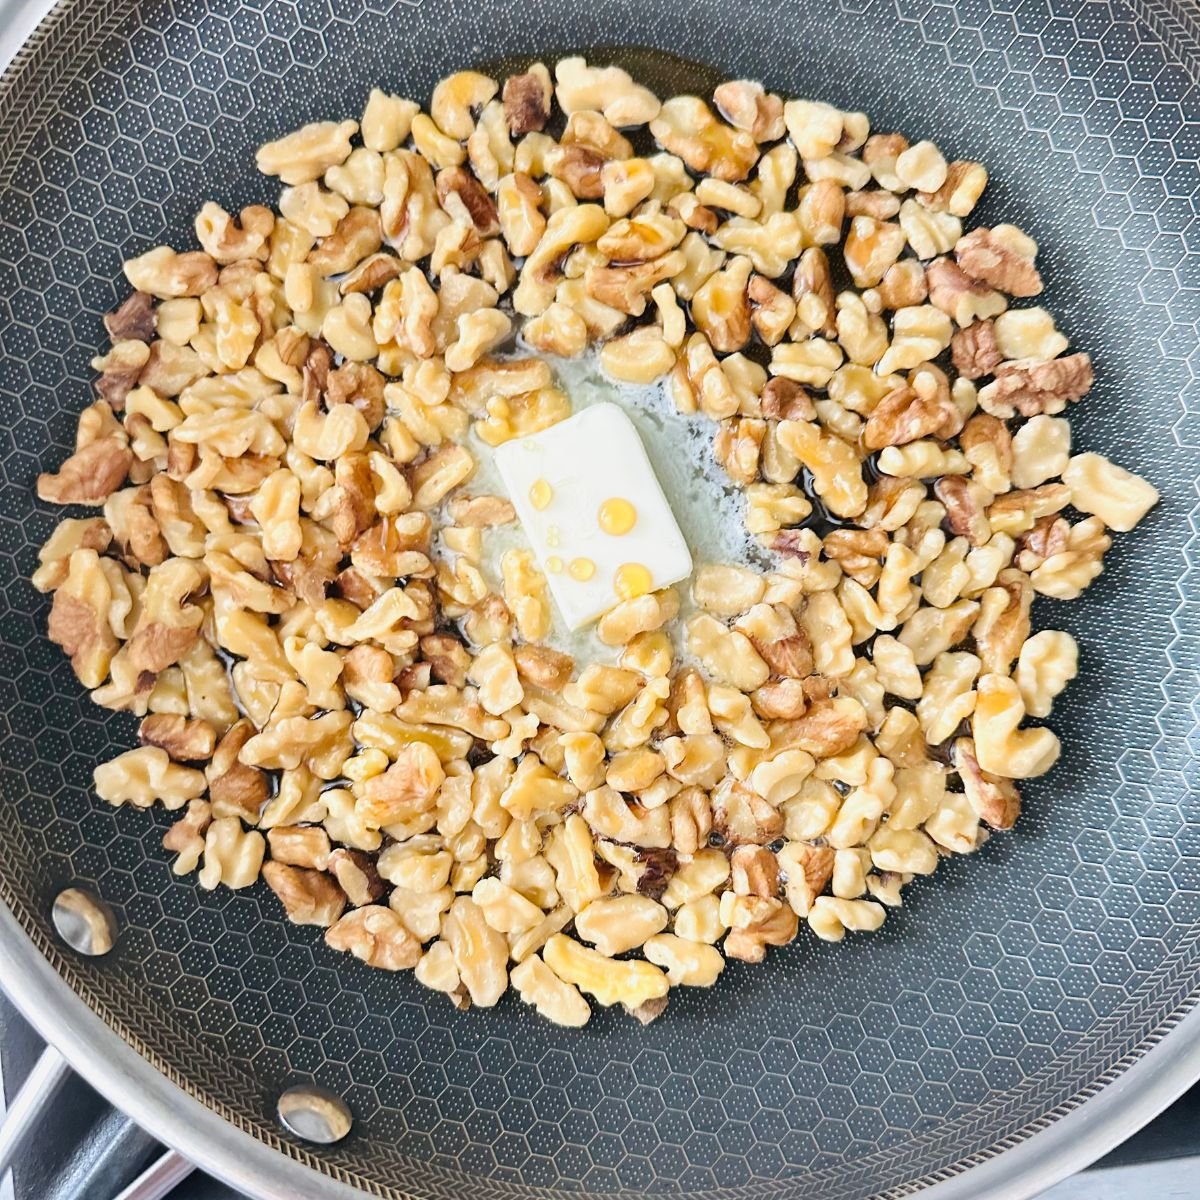
- Heat the pan. Add the walnuts to a heavy-bottomed skillet and set it over medium heat. Starting them dry gives them a couple of minutes to toast before anything coats them.
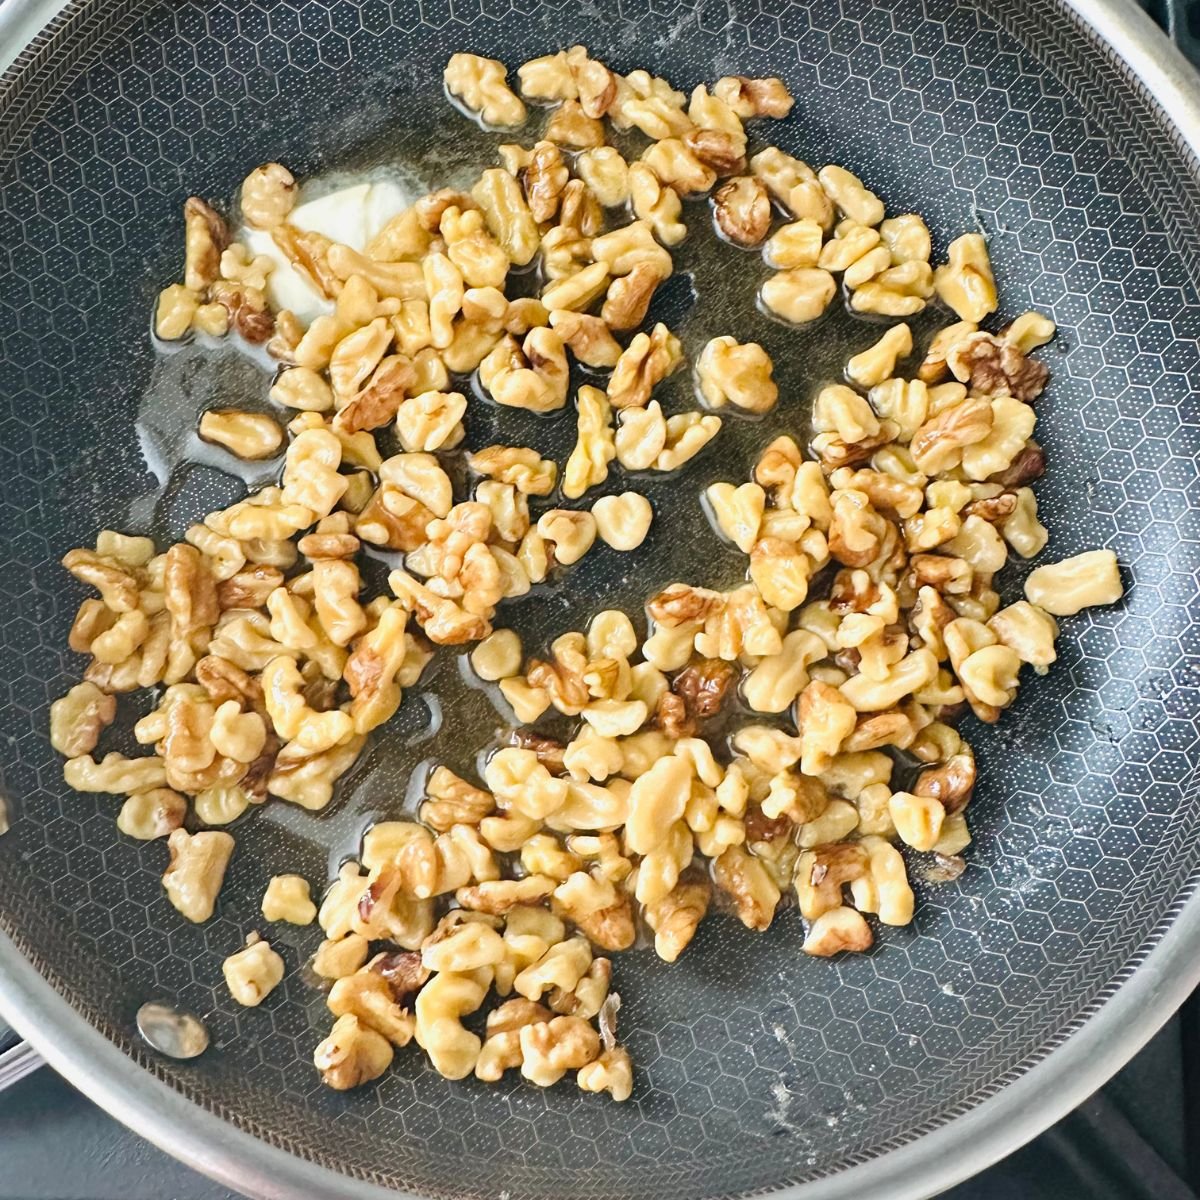
- Let the butter melt. Let the butter melt all the way through, tossing so it coats the walnuts. Don't let it brown yet.
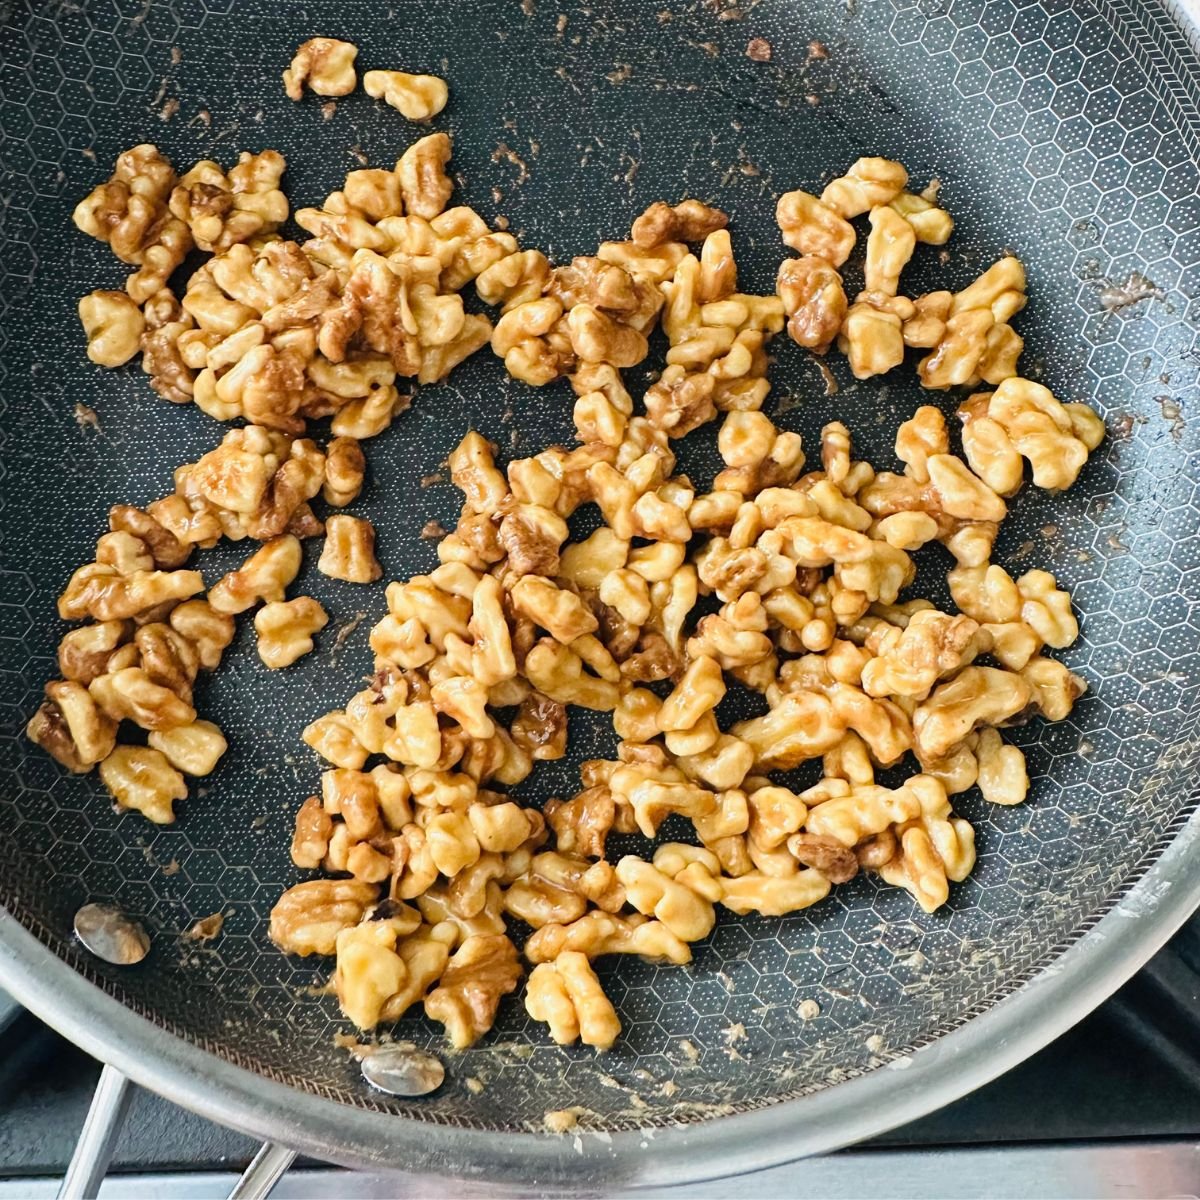
- Add maple syrup, then cook for 5 to 7 minutes. Toss until every walnut is coated, working while the syrup is still thin, because once it starts reducing it stops moving around the pan and you'll get bare patches. Then stir constantly and watch the stages instead of the clock. The syrup bubbles across the pan, the bubbling slows and it starts clinging to the walnuts instead of pooling underneath, the nuts clump together, and the pan looks nearly dry. When the coating turns thick and glossy and drags behind the spoon, they're done. If liquid is still running loose in the pan, they aren't.
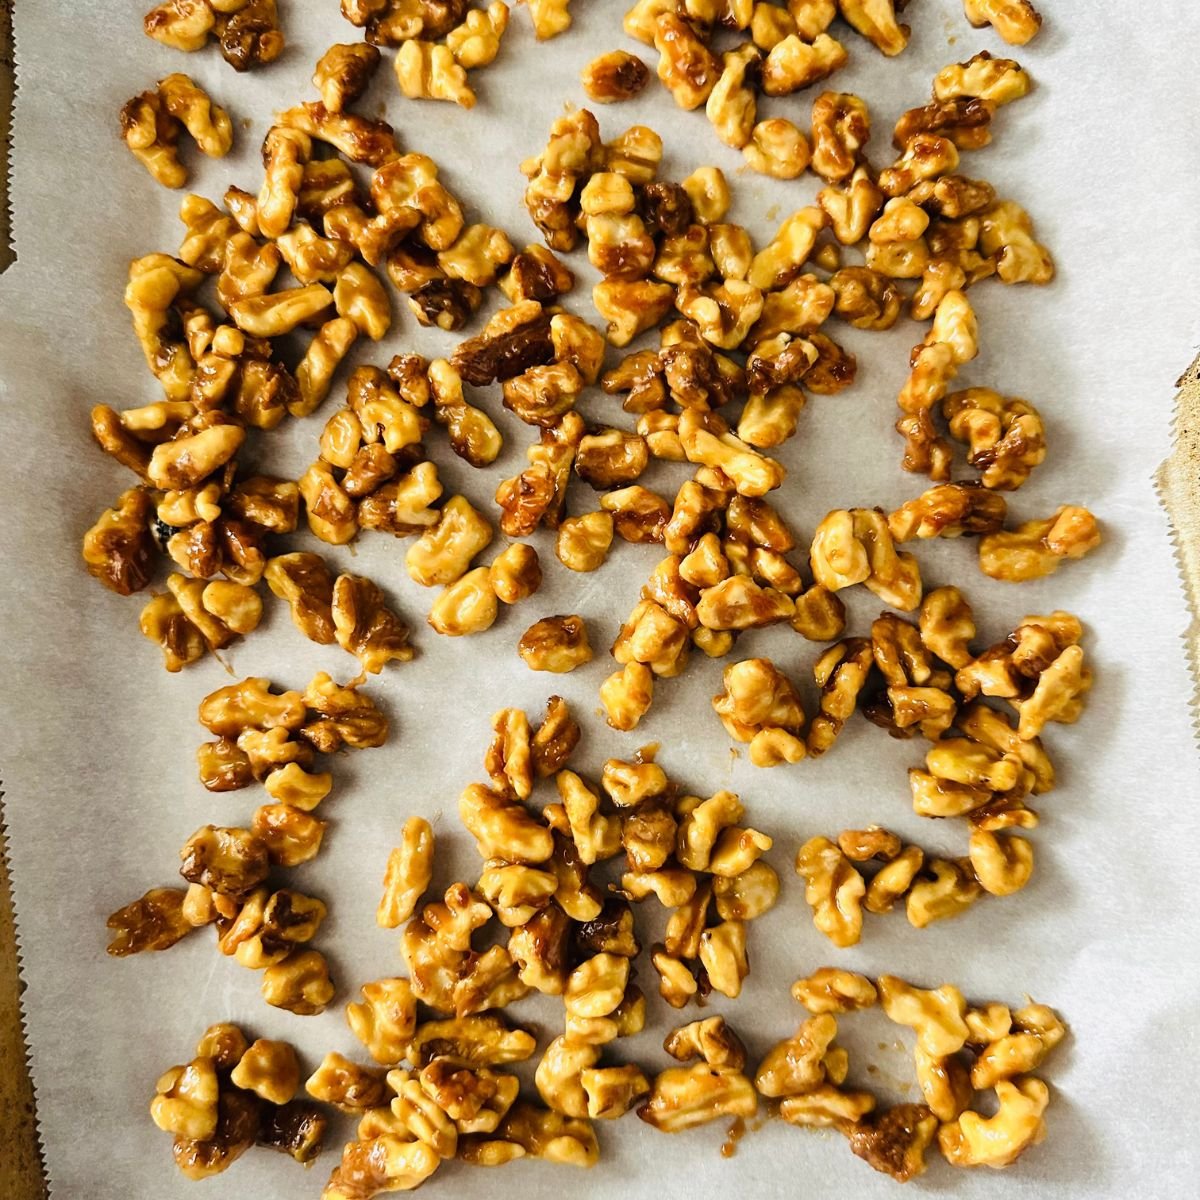
- Cool for 30 minutes. Spread on parchment in a single layer and separate any clumps while they're still warm, since they set hard and won't break apart cleanly later. They crisp as they cool, not in the pan, so they'll feel soft and tacky coming out of the skillet. That's normal.
Why Candied Walnuts Turn Out Sticky
Sticky candied walnuts almost always come down to one thing: the syrup didn't cook long enough.
Pure maple syrup is roughly a third water. That water has to cook off in the pan before the sugars can set into a hard coating. Pull the skillet while there's still liquid running loose and that water stays in the coating, which is why they feel tacky an hour later instead of snapping when you bite one.
Most people undercook them for the same reason. Maple syrup makes a much thinner coating than granulated sugar does, so if you're waiting for a thick white candy shell to form, it isn't coming. What you're actually looking for is a thin, glossy lacquer and a pan that's gone nearly dry. That's the finish line.
If yours already came out sticky, they're fixable. Spread them on a baking sheet and put them in a 300°F oven for 3 to 5 minutes, then let them cool completely on the counter. The oven drives off the water the skillet left behind. Don't skip the cooling, because they'll still feel soft coming out and that's when people put them back in and burn them.
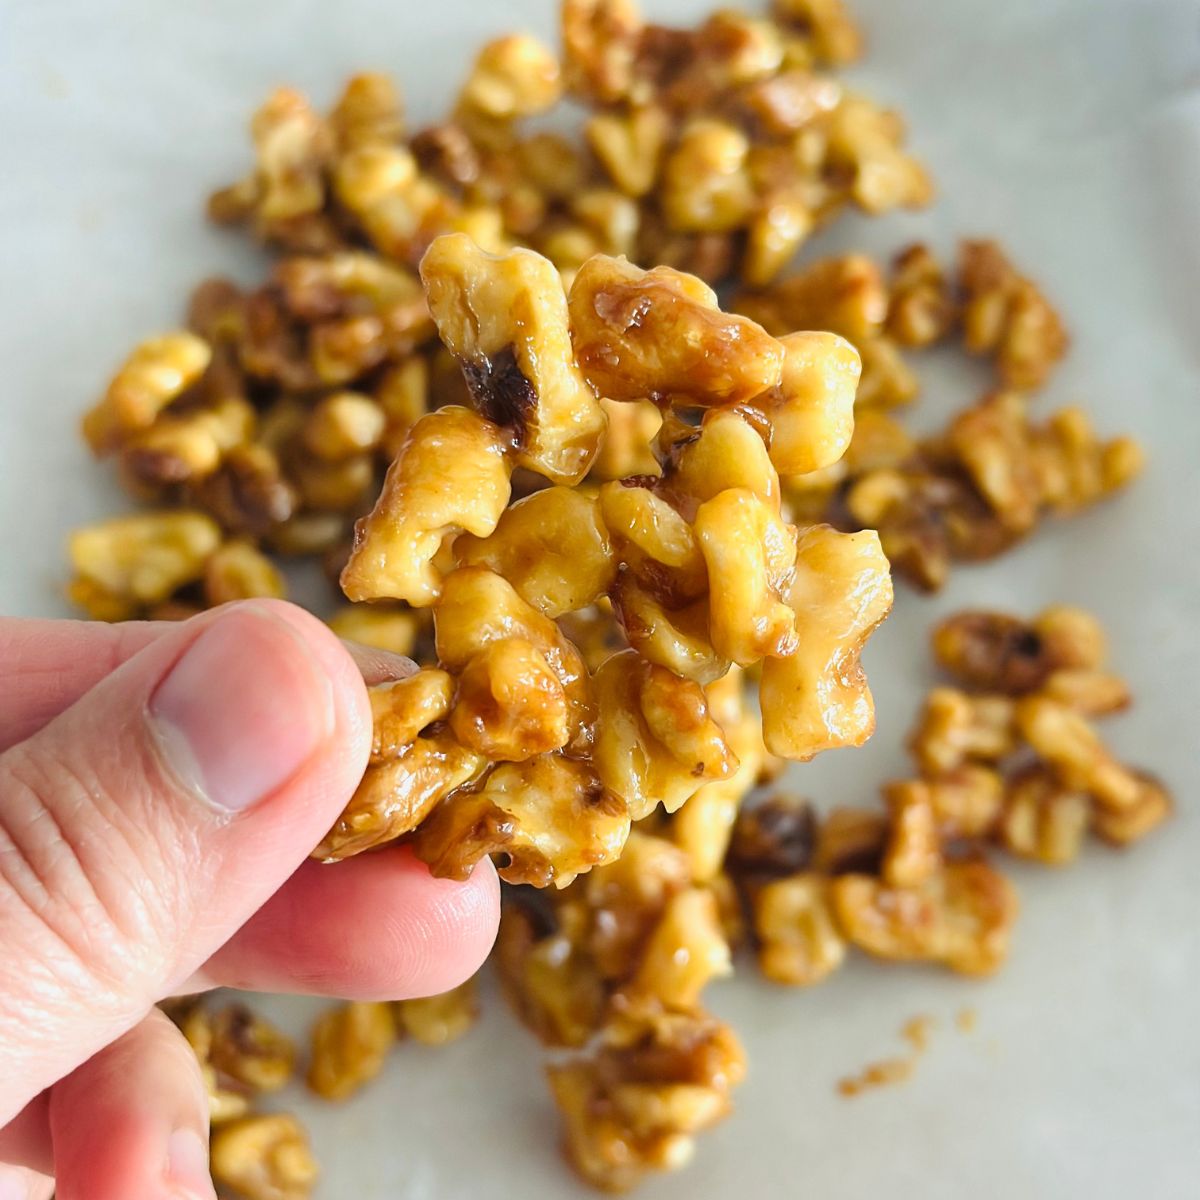
One more thing worth knowing: humidity matters. On a damp day they take longer to set and they won't keep as long, since walnuts pull moisture from the air. If they soften a week into storage, the 300°F reset works just as well the second time.
How to Use Them
On salads. This is what I made them for in the first place. They work best against something soft and a little tangy, so goat cheese, burrata, or a sharp blue. Arugula gives you the peppery contrast that keeps the sweetness in check.
On ice cream. Chop them roughly first so they spread through the bowl instead of sitting on top in a pile. They stay crunchy in cold cream longer than a granulated sugar coating does.
On oatmeal, yogurt, or smoothie bowls. Add them right before you eat. Left sitting in anything wet, the coating starts dissolving within a few minutes.
On a cheese board. A small bowl of these next to something creamy covers the sweet element without needing jam or honey on the board.
Storage and Make-Ahead
Cool them completely first. This one isn't optional. Warm walnuts sealed in a jar create steam, the steam condenses on the coating, and you undo the work you just did in the pan.
Room temperature, up to 2 weeks. Use an airtight container and pack it reasonably full. A half-empty jar holds more air, and walnuts pull moisture out of the air, which is what softens the coating over time. A smaller container beats a big one.
Freezer, up to 3 months. Airtight container or freezer bag. No thawing needed, they're fine straight from frozen.
If they soften, reset them. Same fix as before: 300°F for 3 to 5 minutes, then cool completely on the counter.
Making them ahead for gifts. They're best in the first week, so aim to make them 2 or 3 days before you hand them off rather than 2 weeks. Jar them once they're fully cool and keep the lid tight, since the coating softens faster in a jar that's been opened and reclosed a few times.
Rose's Top Tips
- Don't walk away from the pan. The gap between caramelized and burnt is about 30 seconds at medium heat, and burnt maple syrup goes bitter in a way you can't cook back out. Get everything measured before the butter goes in.
- Salt at the end, not during. Flaky salt sprinkled over the walnuts while the coating is still soft sits on the surface where you actually taste it. Salt stirred into the pan dissolves into the syrup and disappears.
- Soak the pan instead of scrubbing it. Fill it with warm water and leave it 10 minutes. Hardened maple syrup dissolves on its own, spatula included.
- Double the batch. The pan, the timing, and the stages don't change much with twice the walnuts, so you get a second jar for the same 10 minutes of stirring.
Recipe FAQs
Yes. Pecans, almonds, and cashews all take the maple coating well. Pecans have more oil and cook faster, so start checking them around 4 minutes instead of 5.
The syrup didn't cook long enough, so water is still trapped in the coating. Spread them on a baking sheet, heat at 300°F for 3 to 5 minutes, then cool completely on the counter. There's more on why this happens in the section above.
Yes. Walnuts and maple syrup alone will candy on their own, which is how a lot of recipes do it. You lose the even salt distribution and the slight browning the butter gives you, and the coating tends to set a little harder and more brittle.
Use coconut oil or vegan butter in place of the butter. The coating sets softer than the dairy version, so give them the full 30 minutes to cool before deciding whether they worked.
Maple syrup is less refined than white sugar and contains small amounts of minerals, but it's still sugar and your body treats it much the same way. I use it here for the caramel flavor and the way it sets, not as a health swap.
More Fall Recipes to Try
Looking for other recipes like this? Try these:
- Baked Brie with Hot Honey: scatter a handful of these walnuts over the top before serving
- Arugula and Pomegranate Salad: the peppery arugula and sweet coating play off each other
- Ninja Creami Pumpkin Spiced Ice Cream: chop them fine and stir them in as a mix-in
- Pumpkin Cinnamon Rolls: press a few into the frosting while it's still soft

Did you try this recipe?
Share how it turned out in the comment box below, and if you loved it, share it on Facebook, Pinterest & Instagram.
Thank you!

Candied Maple Walnuts (Crispy Stovetop Method)
Equipment
- 1 non-stick pan
Ingredients
- 1 cup walnuts (halved or chopped)
- 3 tablespoon maple syrup
- 1 tablespoon salted butter add pinch of salt if using unsalted butter
Instructions
- Heat the pan. Set a heavy-bottomed skillet over medium heat and let it come up to temperature before anything goes in. A cold pan means the butter sits and the syrup starts reducing unevenly once it hits.
- Add the butter and walnuts. Let the butter melt all the way through, tossing so it coats the walnuts. Don't let it brown yet. A minute or two in the melted butter gives the walnuts a head start on toasting before the syrup goes in.1 tablespoon salted butter, 1 cup walnuts (halved or chopped)
- Add the maple syrup. Pour it in and stir until every walnut is coated. Do it while the syrup is still thin, because once it starts reducing it stops moving around the pan and you'll get bare patches.3 tablespoon maple syrup
- Cook for 5 to 7 minutes, stirring constantly. Watch the stages, not the clock. The syrup bubbles across the pan, then the bubbling slows and it starts clinging to the walnuts instead of pooling underneath, then the nuts clump together and the pan looks nearly dry. When the coating turns thick and glossy and drags behind the spoon, they're done. If liquid is still running loose in the pan, they aren't.
- Cool for 30 minutes. Spread on parchment in a single layer and separate any clumps while they're still warm, since they set hard and won't break apart cleanly later. They crisp as they cool, not in the pan, so they'll feel soft and tacky coming out of the skillet. That's normal.
Rose says
I hope you love these Maple Glazed Walnuts as much as I do—they’re crunchy, sweet, and totally irresistible! Let me know if you end up snacking on them straight from the pan (I always do).